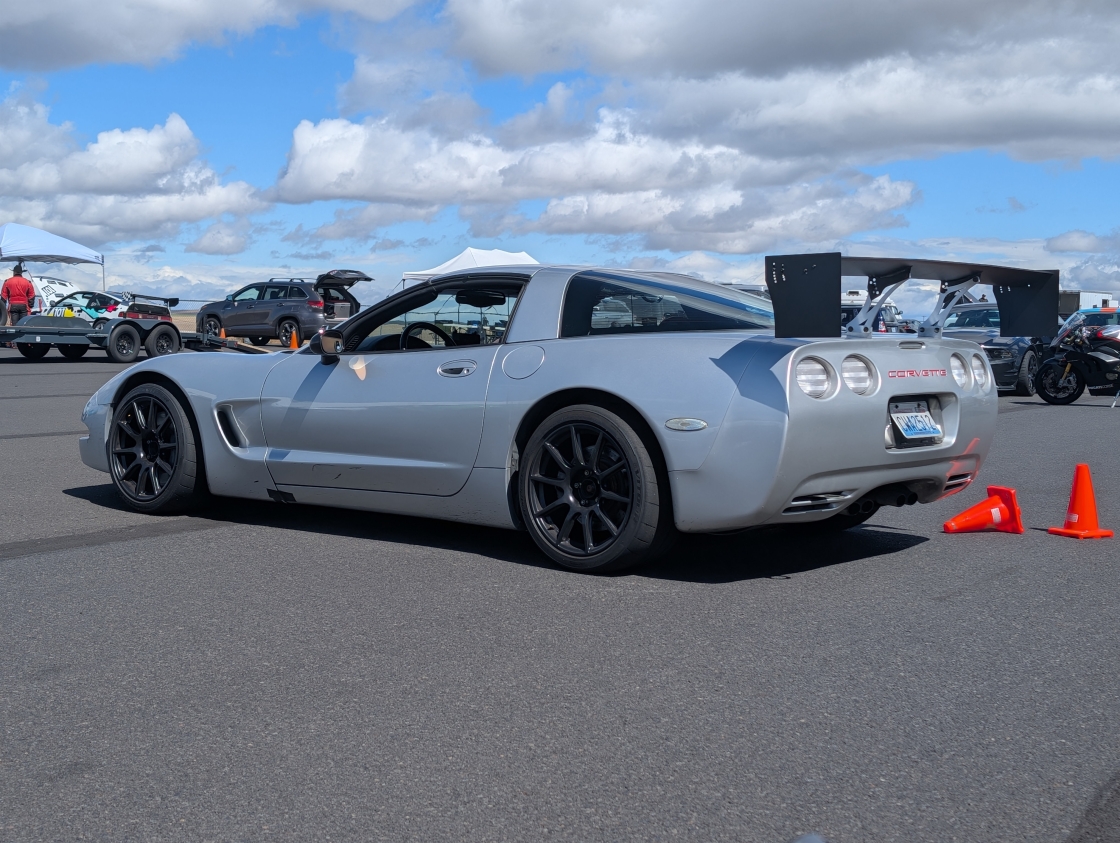
Last we left the Dead to Shred C5 Corvette, we had just sorted out ABS and the EBCM in Episode #5, and we'd gotten the Corvette to turn laps for our group of drivers at ORP in episode #4. The car was doing good, especially with the ABS added, but every single driver described the rear end of the car as not being confidence inspiring with it's group from mid turn to exit... and when you're ripping around a track you want to be confident that the Corvette rear end is going to keep your own rear end from spinning off the track!
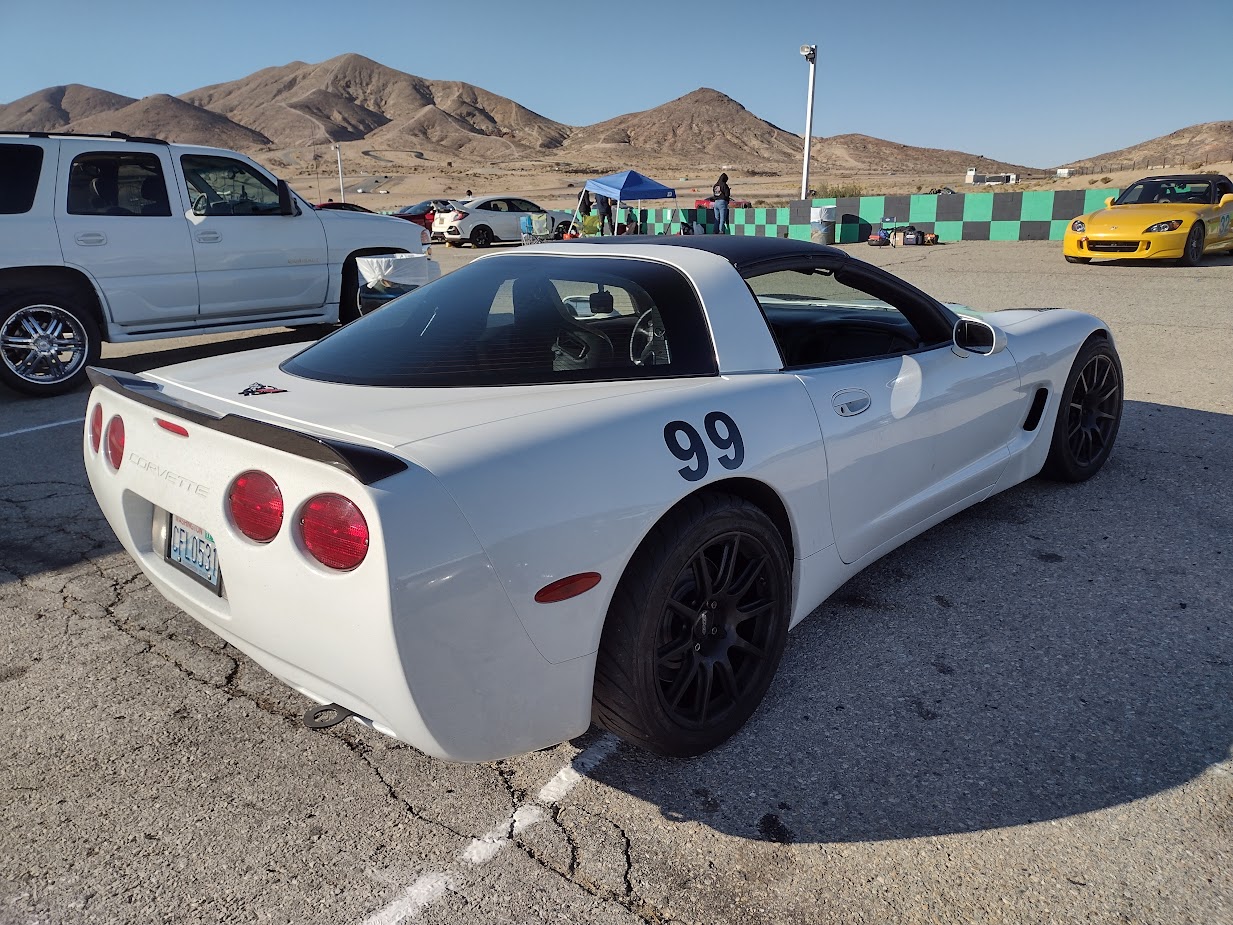
Now when it comes to aero on a C5 Corvette, there's a few different options. You can run a spoiler on the car, and there's a lot of great options like this duckbill spoiler pictured above that Shred Jesse used to have on his white C5 Corvette way back. It's simple, it adds a bit of downforce... but spoilers are also renowned for adding nearly as much drag as they add downforce. It's also worth noting they attach with double sided tape, which some people are skeptical of. Having pulled a few of these off of cars to swap to a wing, we can attest to the fact the double sided tape solution holds up to 140mph and is near impossible to remove in under 4 hours. You can trust it.
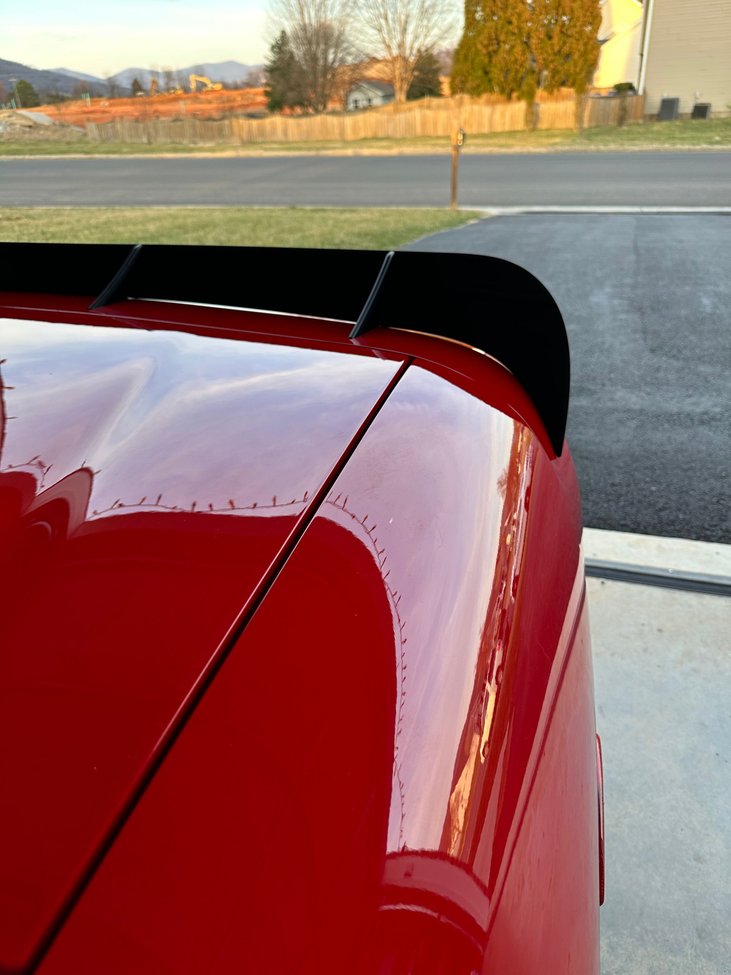
There's also the full blown spoilers like the one pictured above spec Corvette runs. They are taller and produce more downforce, but also more drag. The look also may or may not be for you.
Lucky for us C5 Corvette owners, the C5 is built stout and can easily support a chassis mounted wing. Wings produce downforce with very little drag compared to spoilers, and being attached directly to the chassis ensures that downforce generated by a wing goes RIGHT into the platform. Body or trunk mounted wings transfer the load through body panels and fasteners, which can flex, fail, and/or distort changing the wing angle of attack, and often not for the better. In a real bad scenario, they break off, though most reputable companies will have navigated this issue.
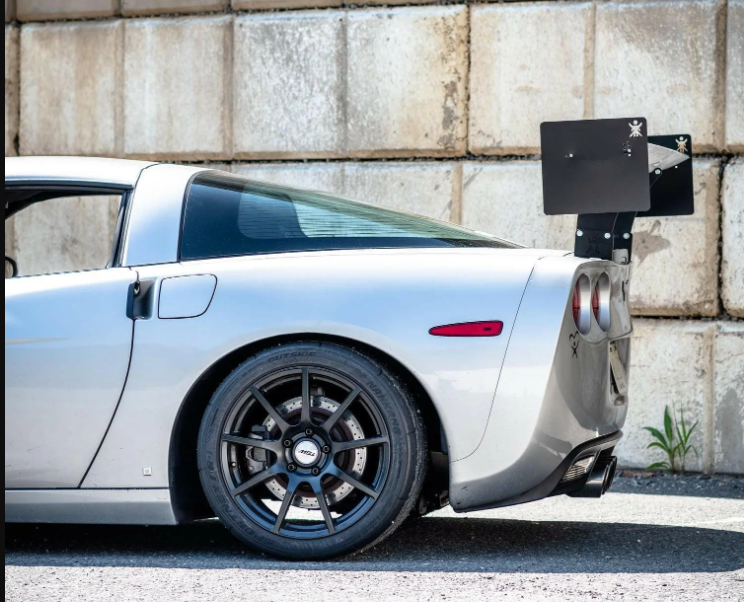
There's a lot of great options in the market. 9 Lives Racing always comes to mind first, and they've got a ton of great kits they offer for the C5 Corvette. Their prices are also pretty competitive to other platforms and their offerings, so we feel pretty good recommending them to our readers, though we find their look a bit utilitarian.
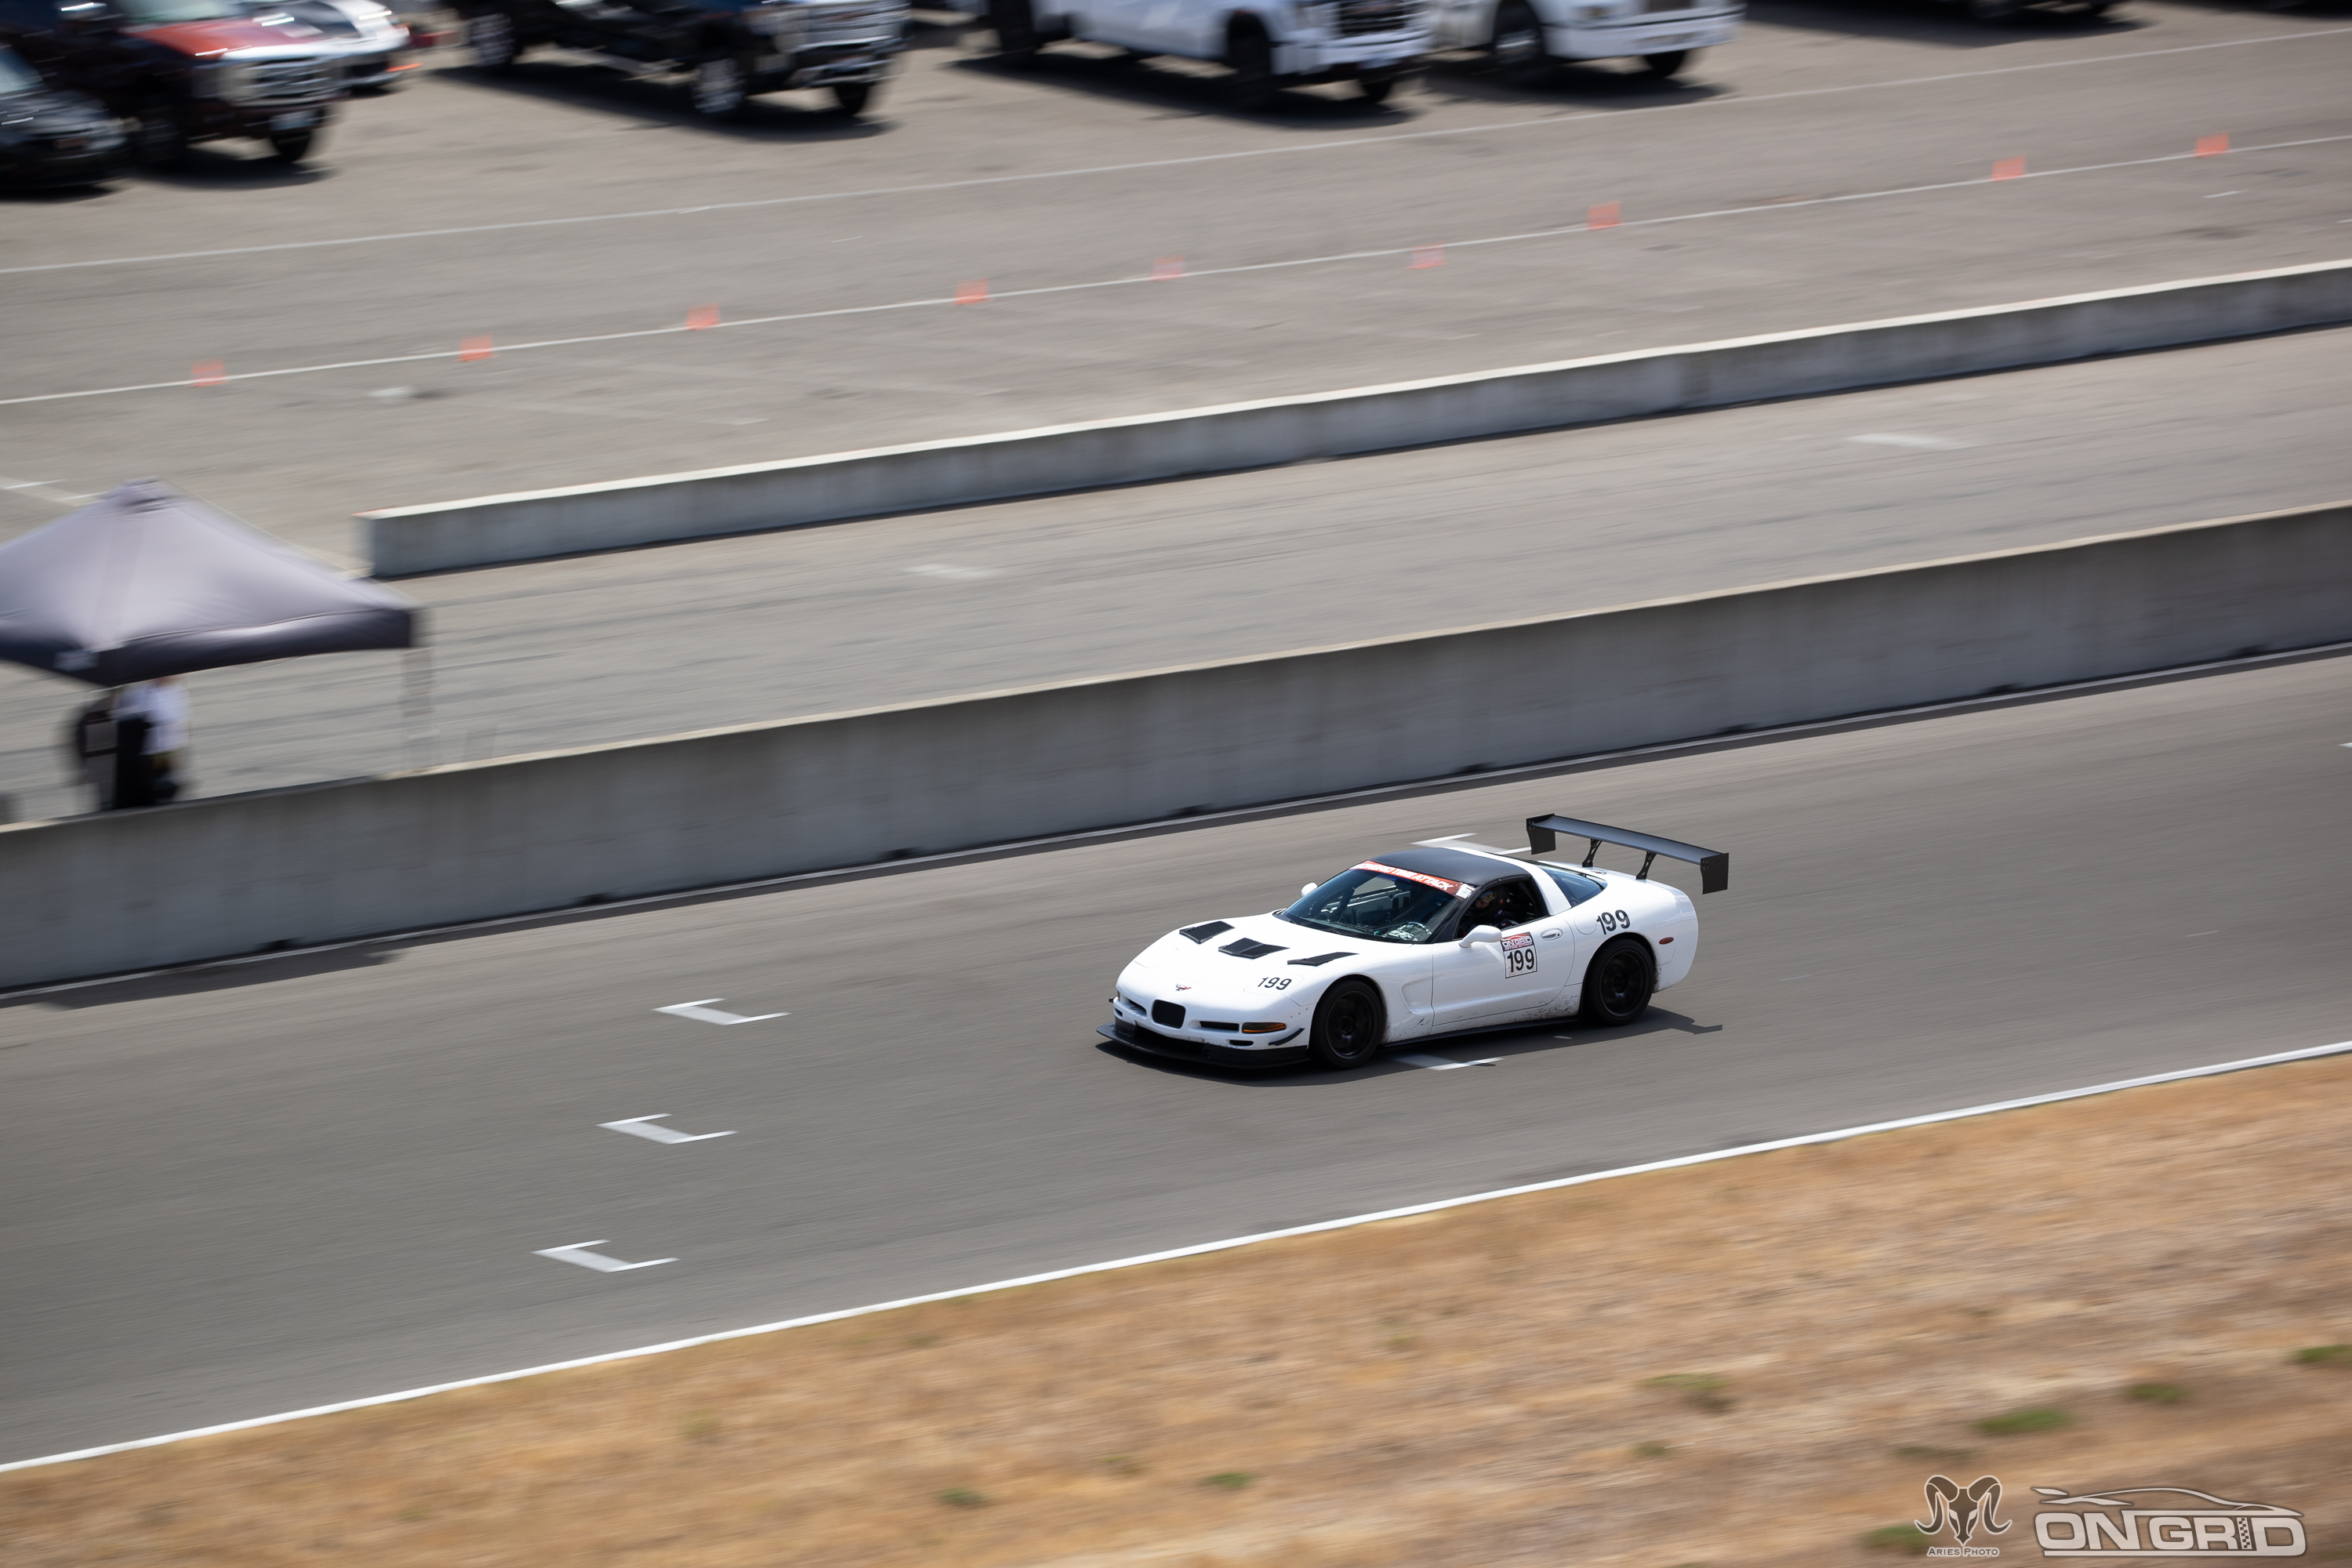
Now the 9 Lives Racing kit is good and proven, but man do we love a good DIY project! Our author Shred Jesse strikes again here, as he has designed up his own DIY chassis mounted wing setup... and we've got to be honest we think it's one of the best looking options out there on the market. The chassis mount is the most flush with the deck offering out there for the C5 Corvette, and the wing uprights are clean and good looking. For these reasons, we decided to run with Shred Jesse's wing.
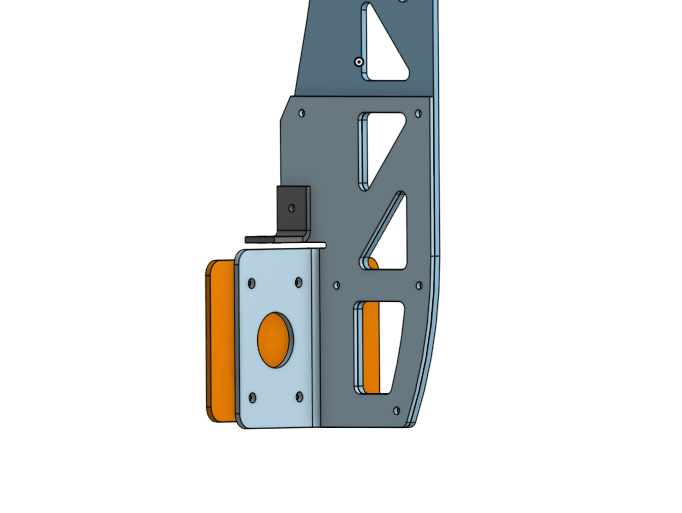
As with everything Jesse does though... it was going to be a bit extra DIY as we'd testing out his new prototype "no weld" wing chassis mounts. We dug the concept though as it makes a design that is more accessible to the DIYer, and given how stout the design looks we had no concerns about how capable it would be on the car.
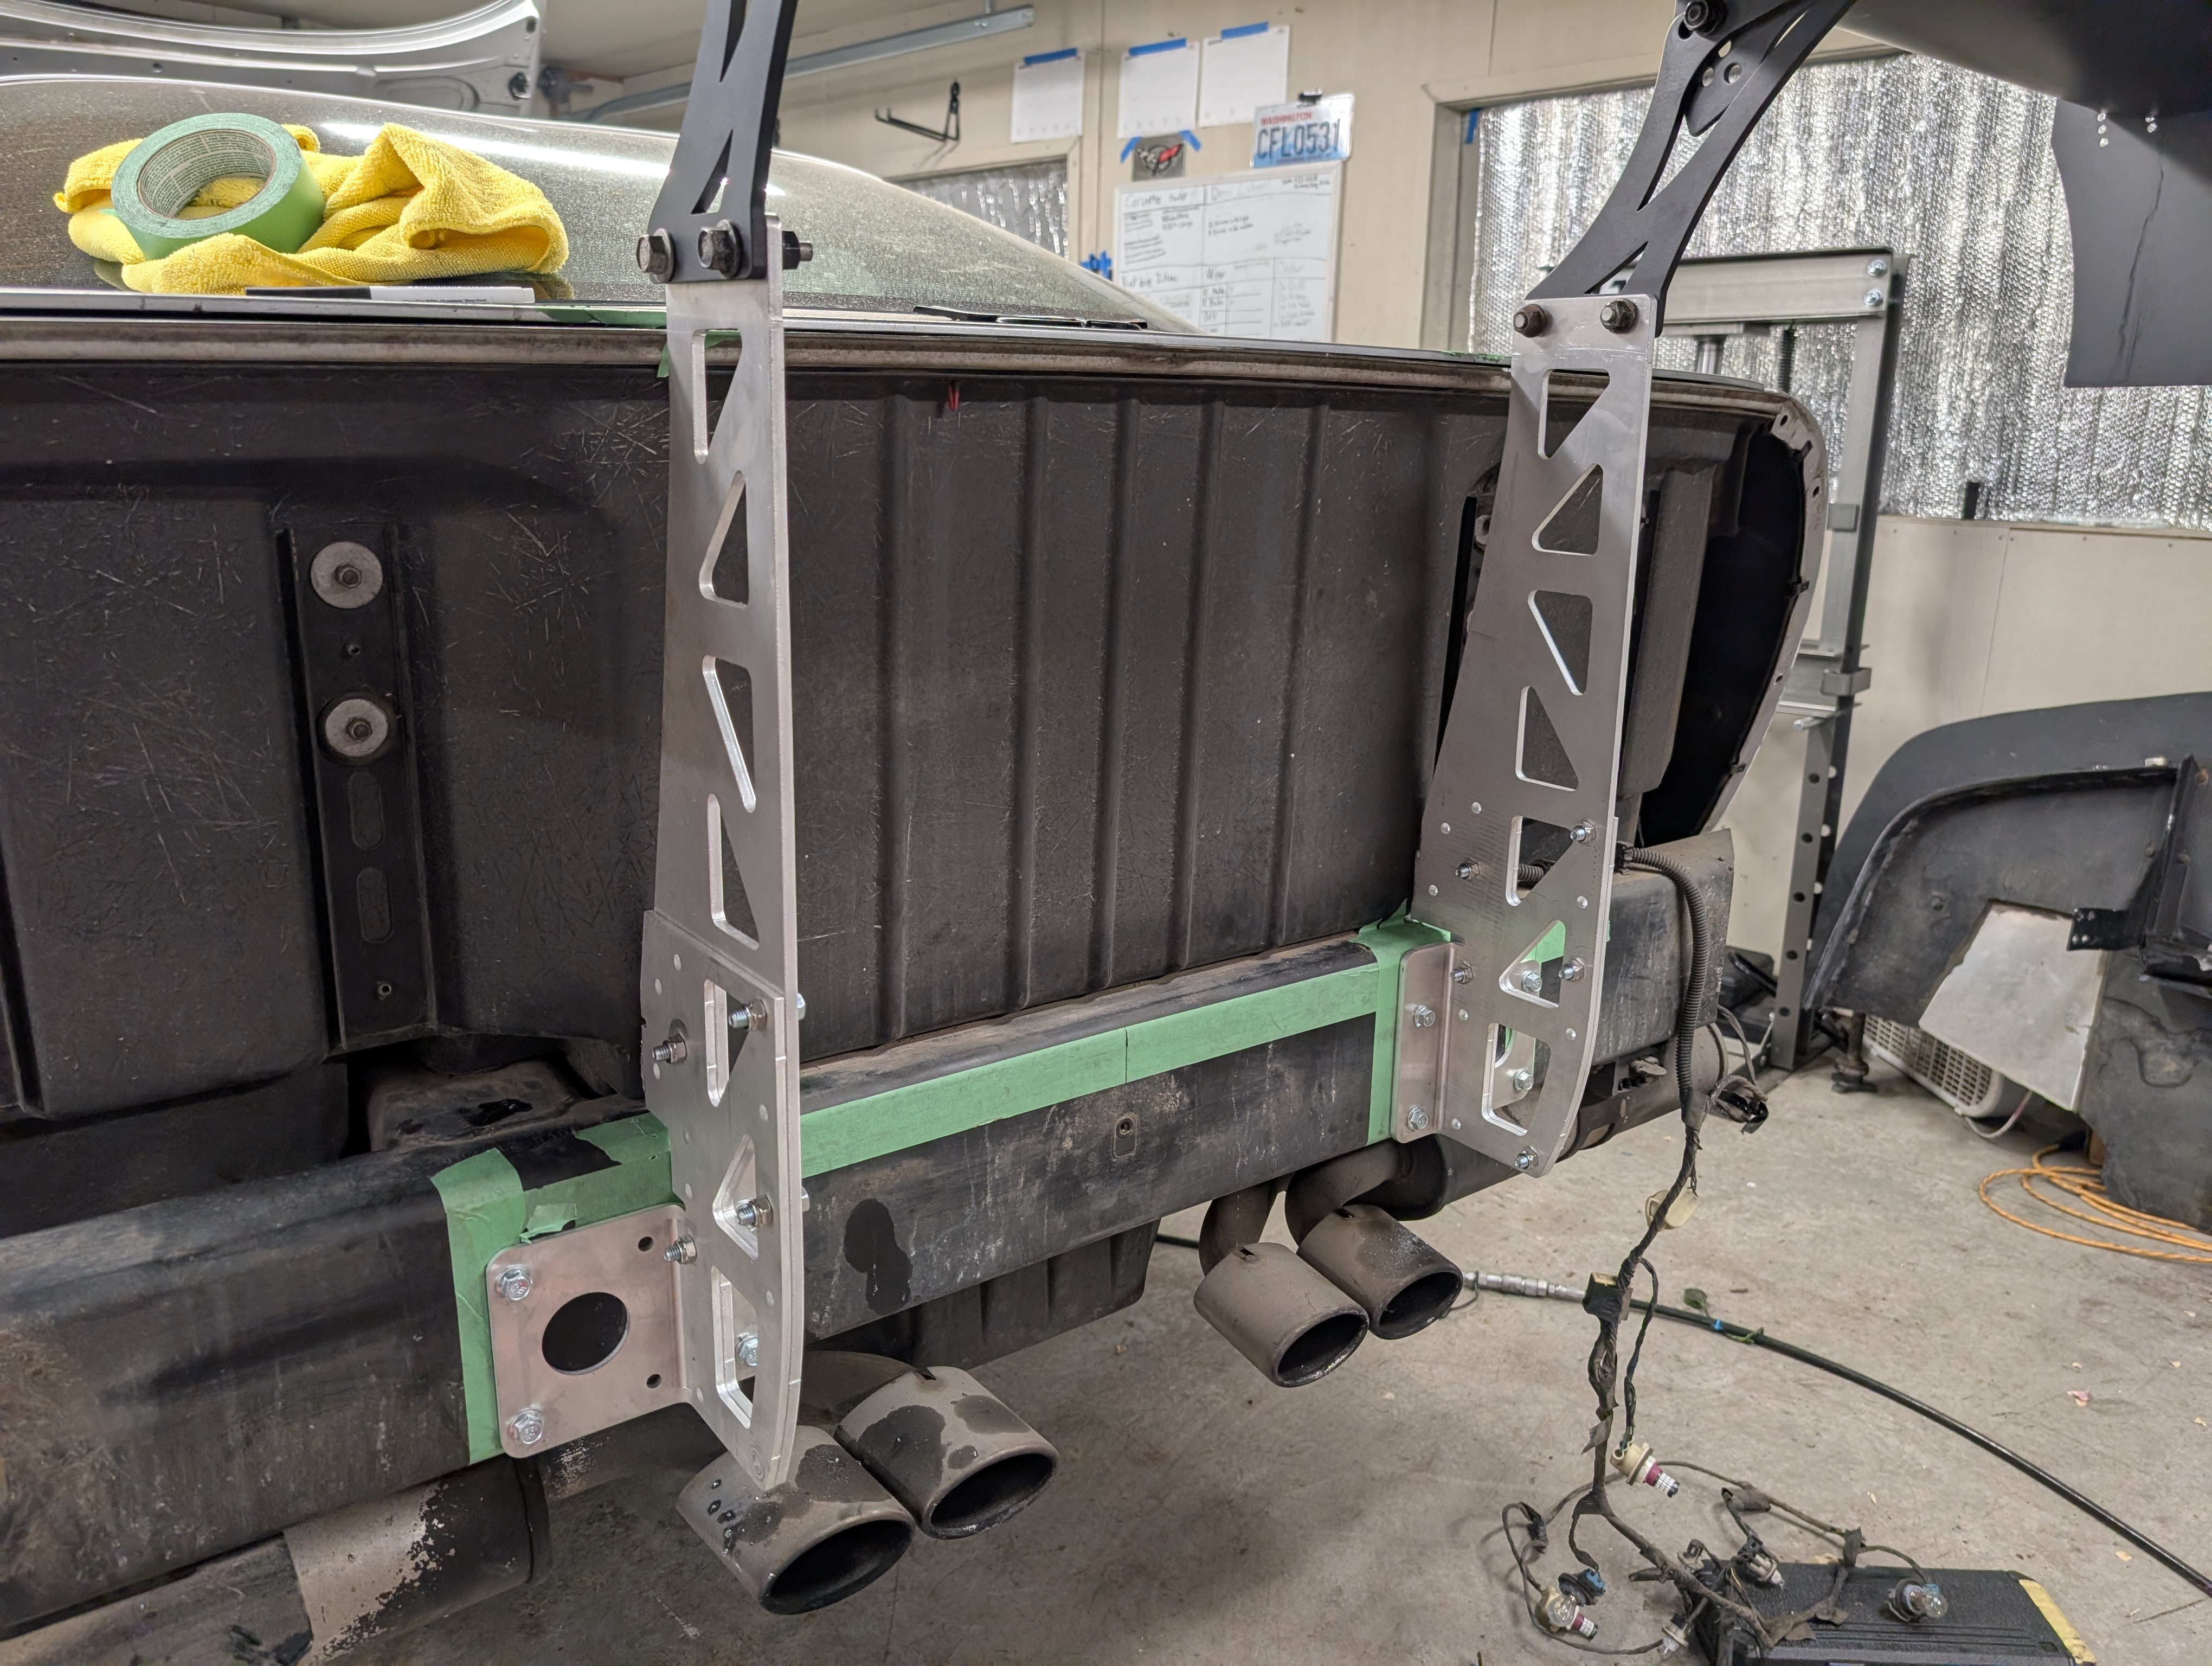
Now as mentioned above, the C5 Corvette has an amazing mounting location. The rear crash bar is built pretty stout and attaches right to the frame. Simply pull off the rear bumper, and you've got access. For those who are concerned about removing the rear bumper, fear not... it's a breeze, and arguably only slightly more challenging than an oil change.
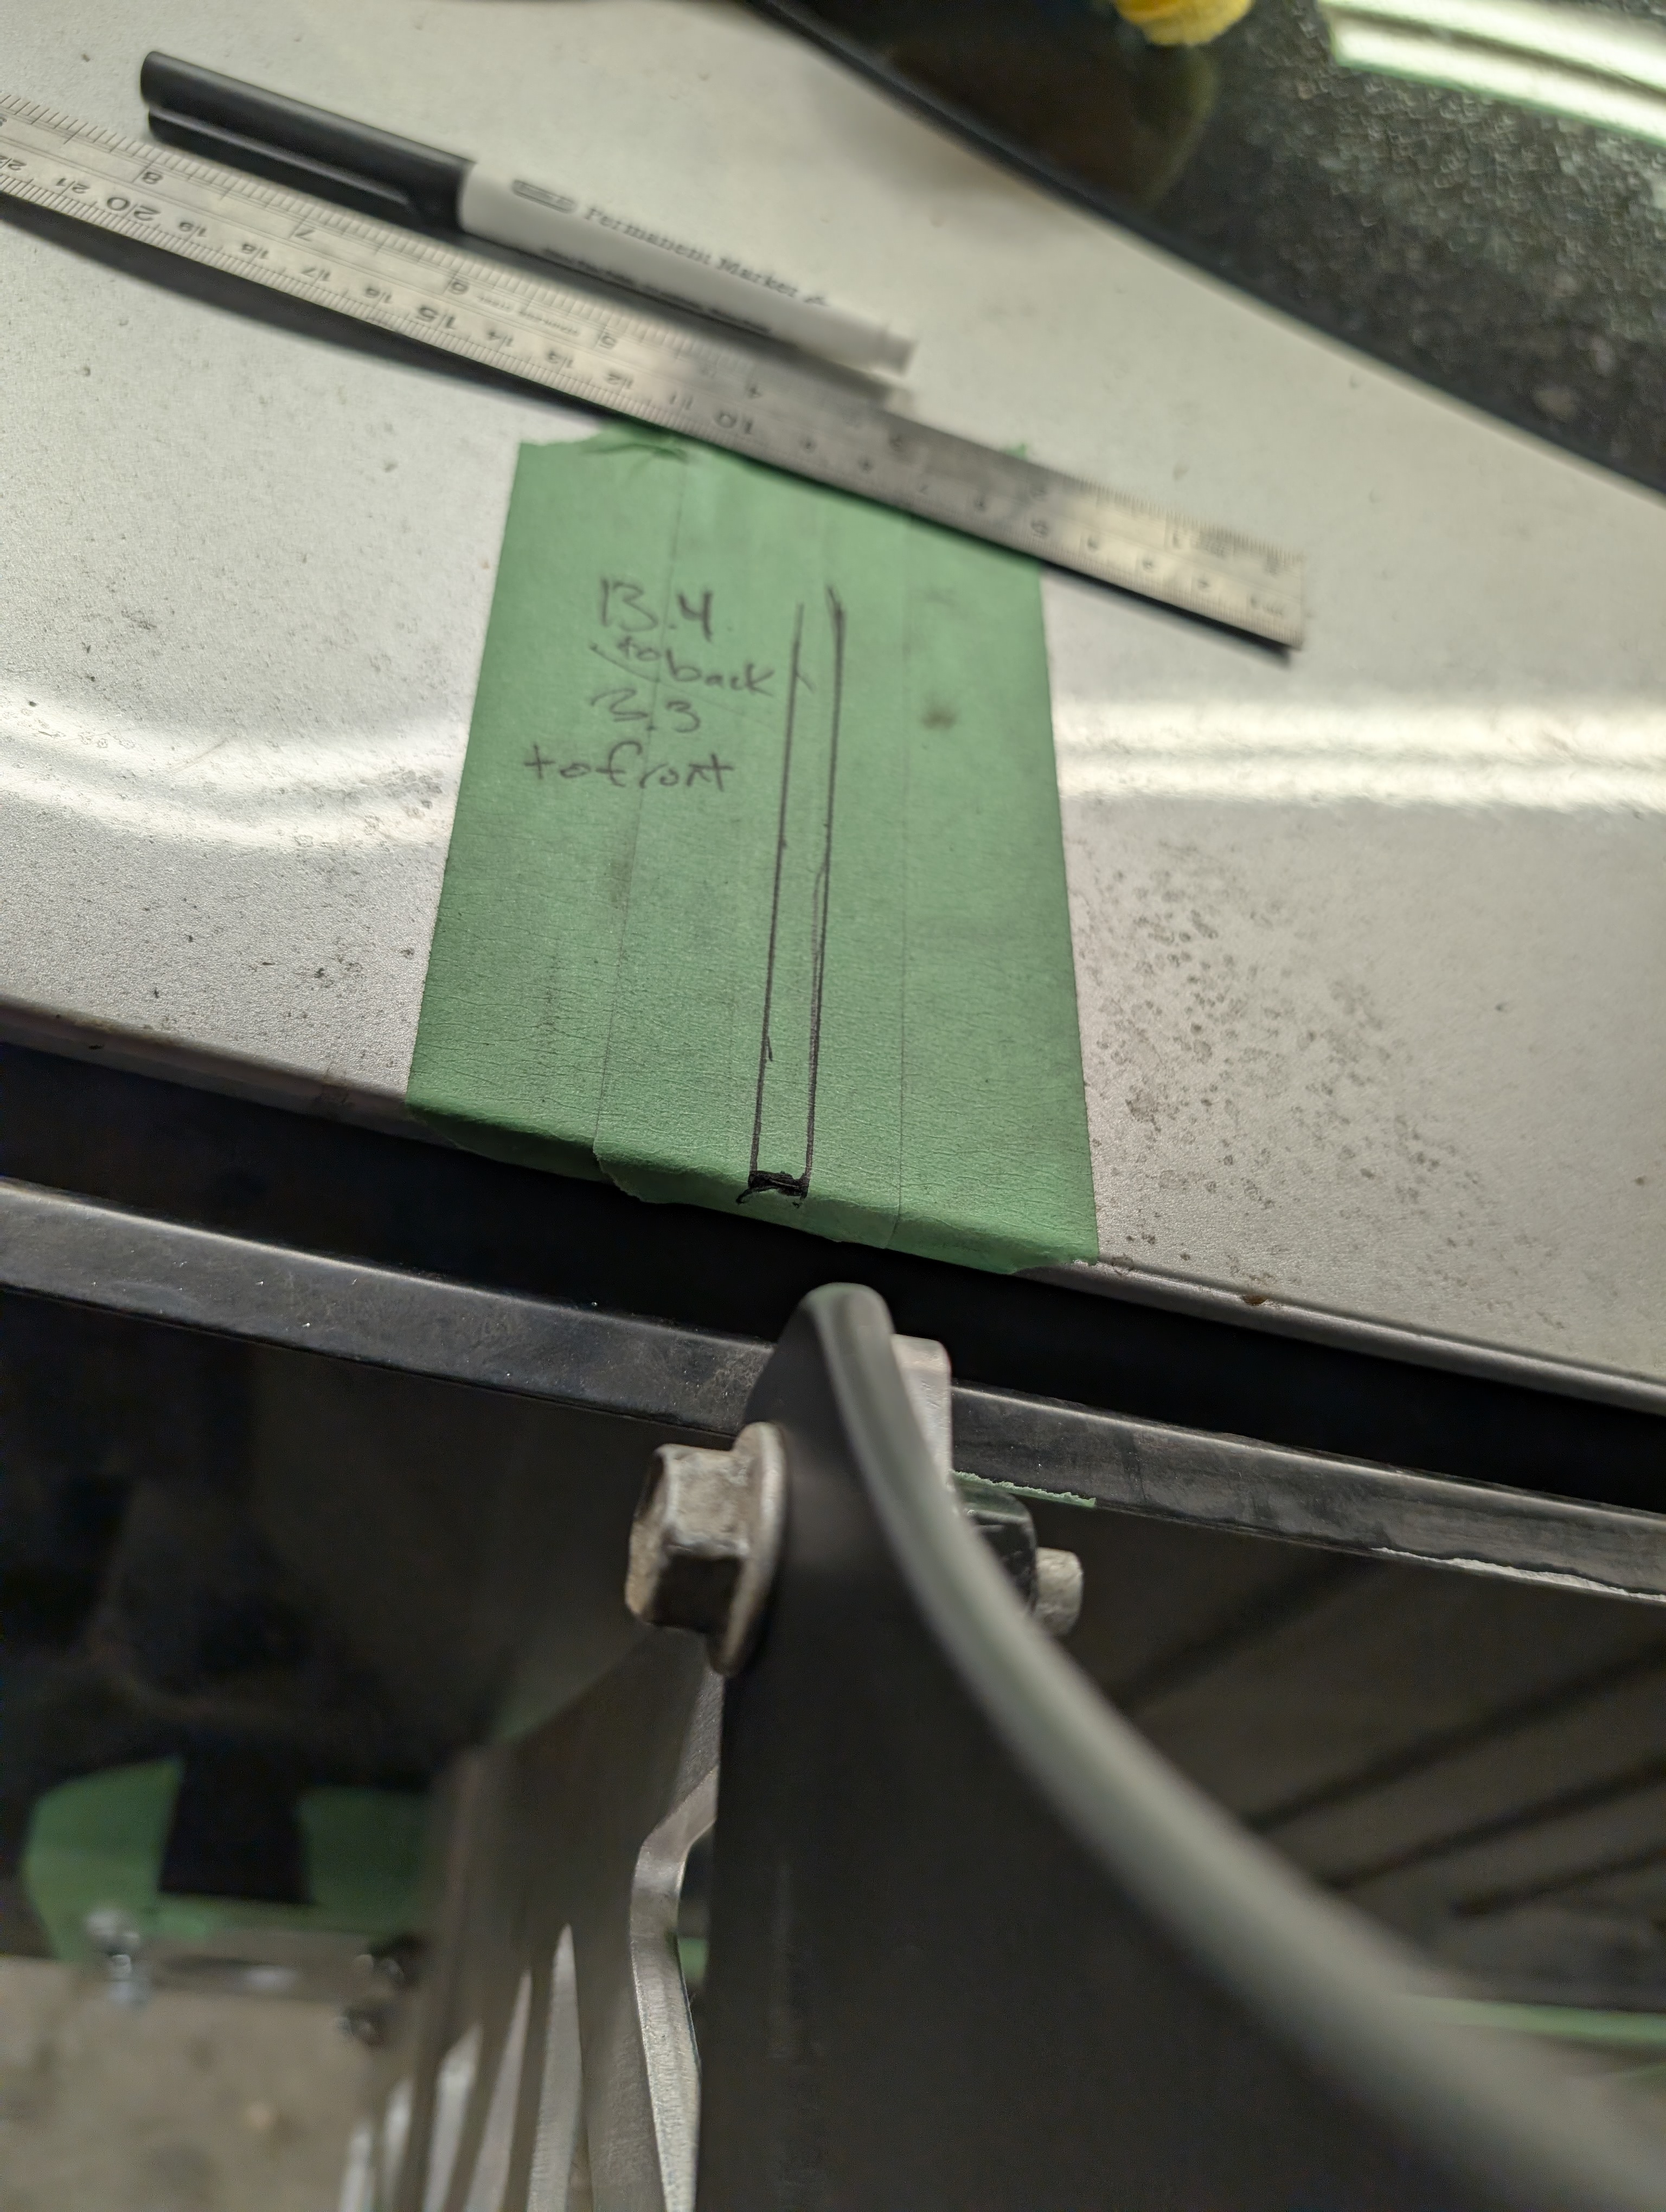
There are of course some body modification considerations with the chassis mount, but they are again pretty easy. Jesse has this all pretty well documented in his article, but the short version is you'll measure 7" side to side from center on the crash bumper and test fit the mounts there. A bit of mild cutting to the tub will need to occur and it's generally quite obvious. Then do a few test bolts to hold the chassis mount in place, and place painters tape on the rear hatch. Trace along your chassis mount onto the tape, and draw a reference line there. Measure from the tape to the front and rear of the chassis mounts. Now, remove the chassis mounts, loosely reinstall the bumper, and utilize the lines and measurements you have to indicate where on the bumper the chassis mounts will stick up through the bumper. Voila, you know exactly where to cut now!
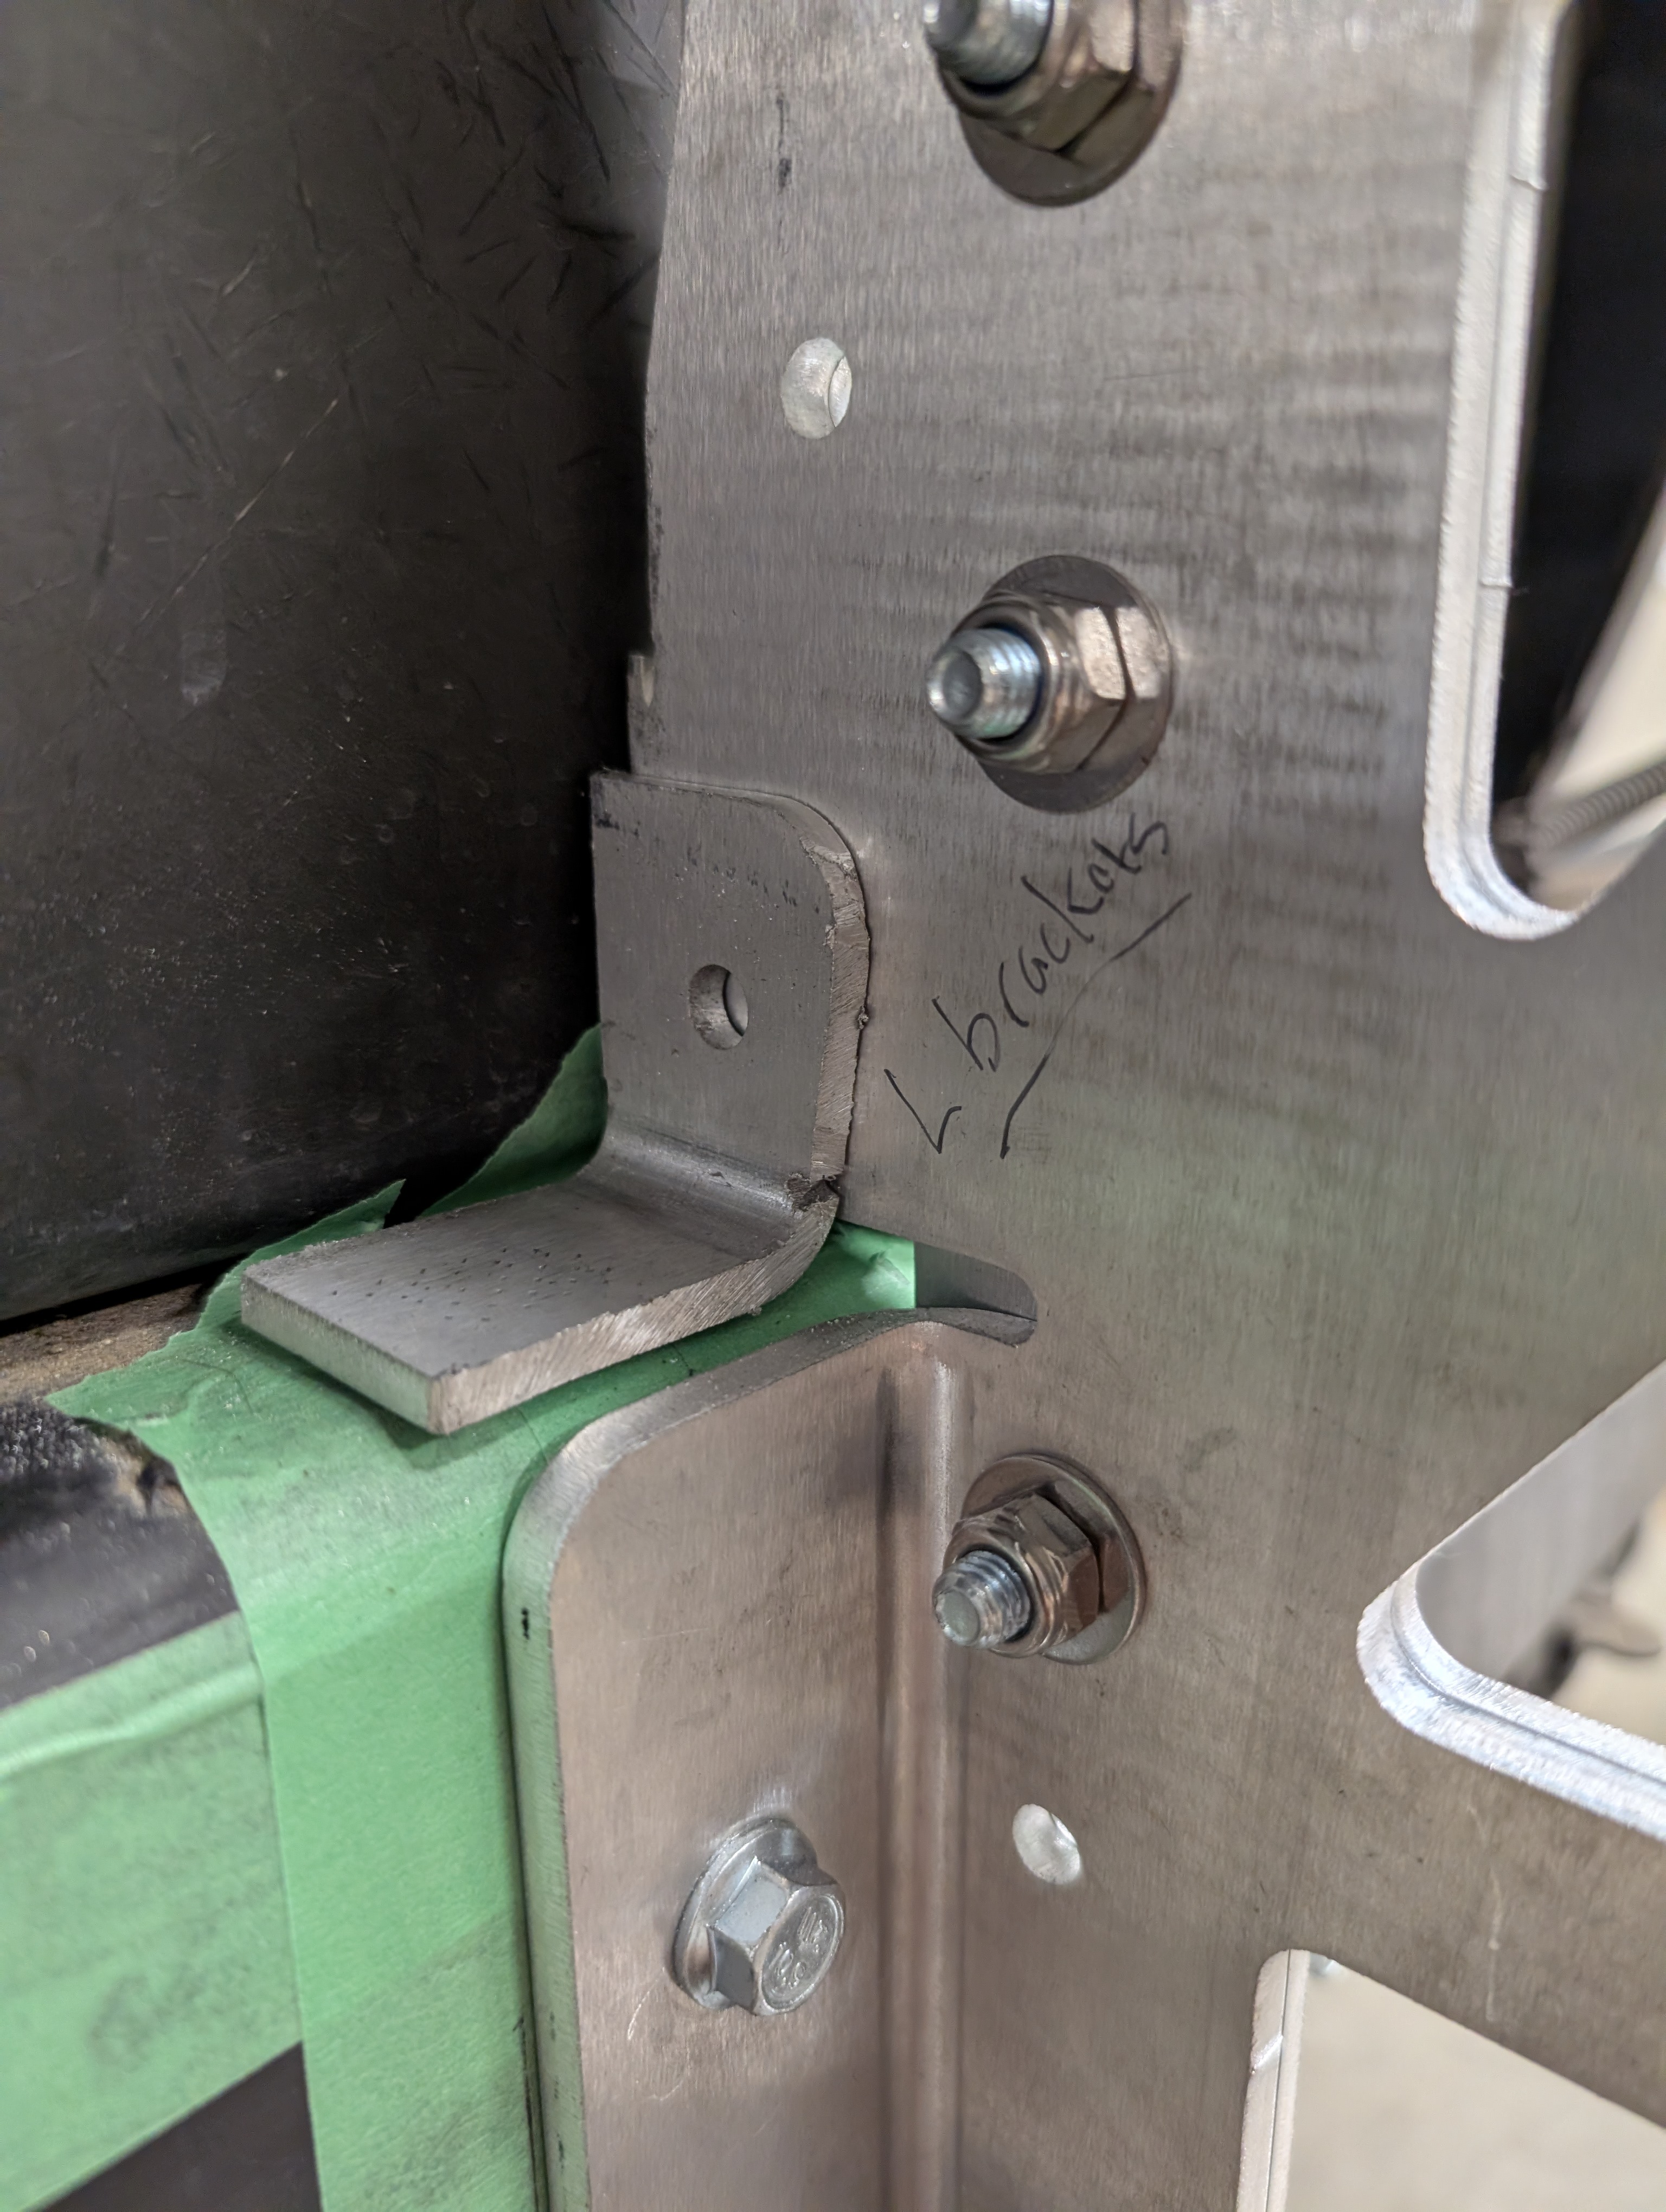
Next up, it's going to sound really simple, but a small L-bracket goes a long ways to stabilizing the uprights. That combined with a backing plate behind the bumper sandwiching the bumper material to the upright all but makes this chassis mount one of the strongest offerings available to C5 Corvette enthusiasts.
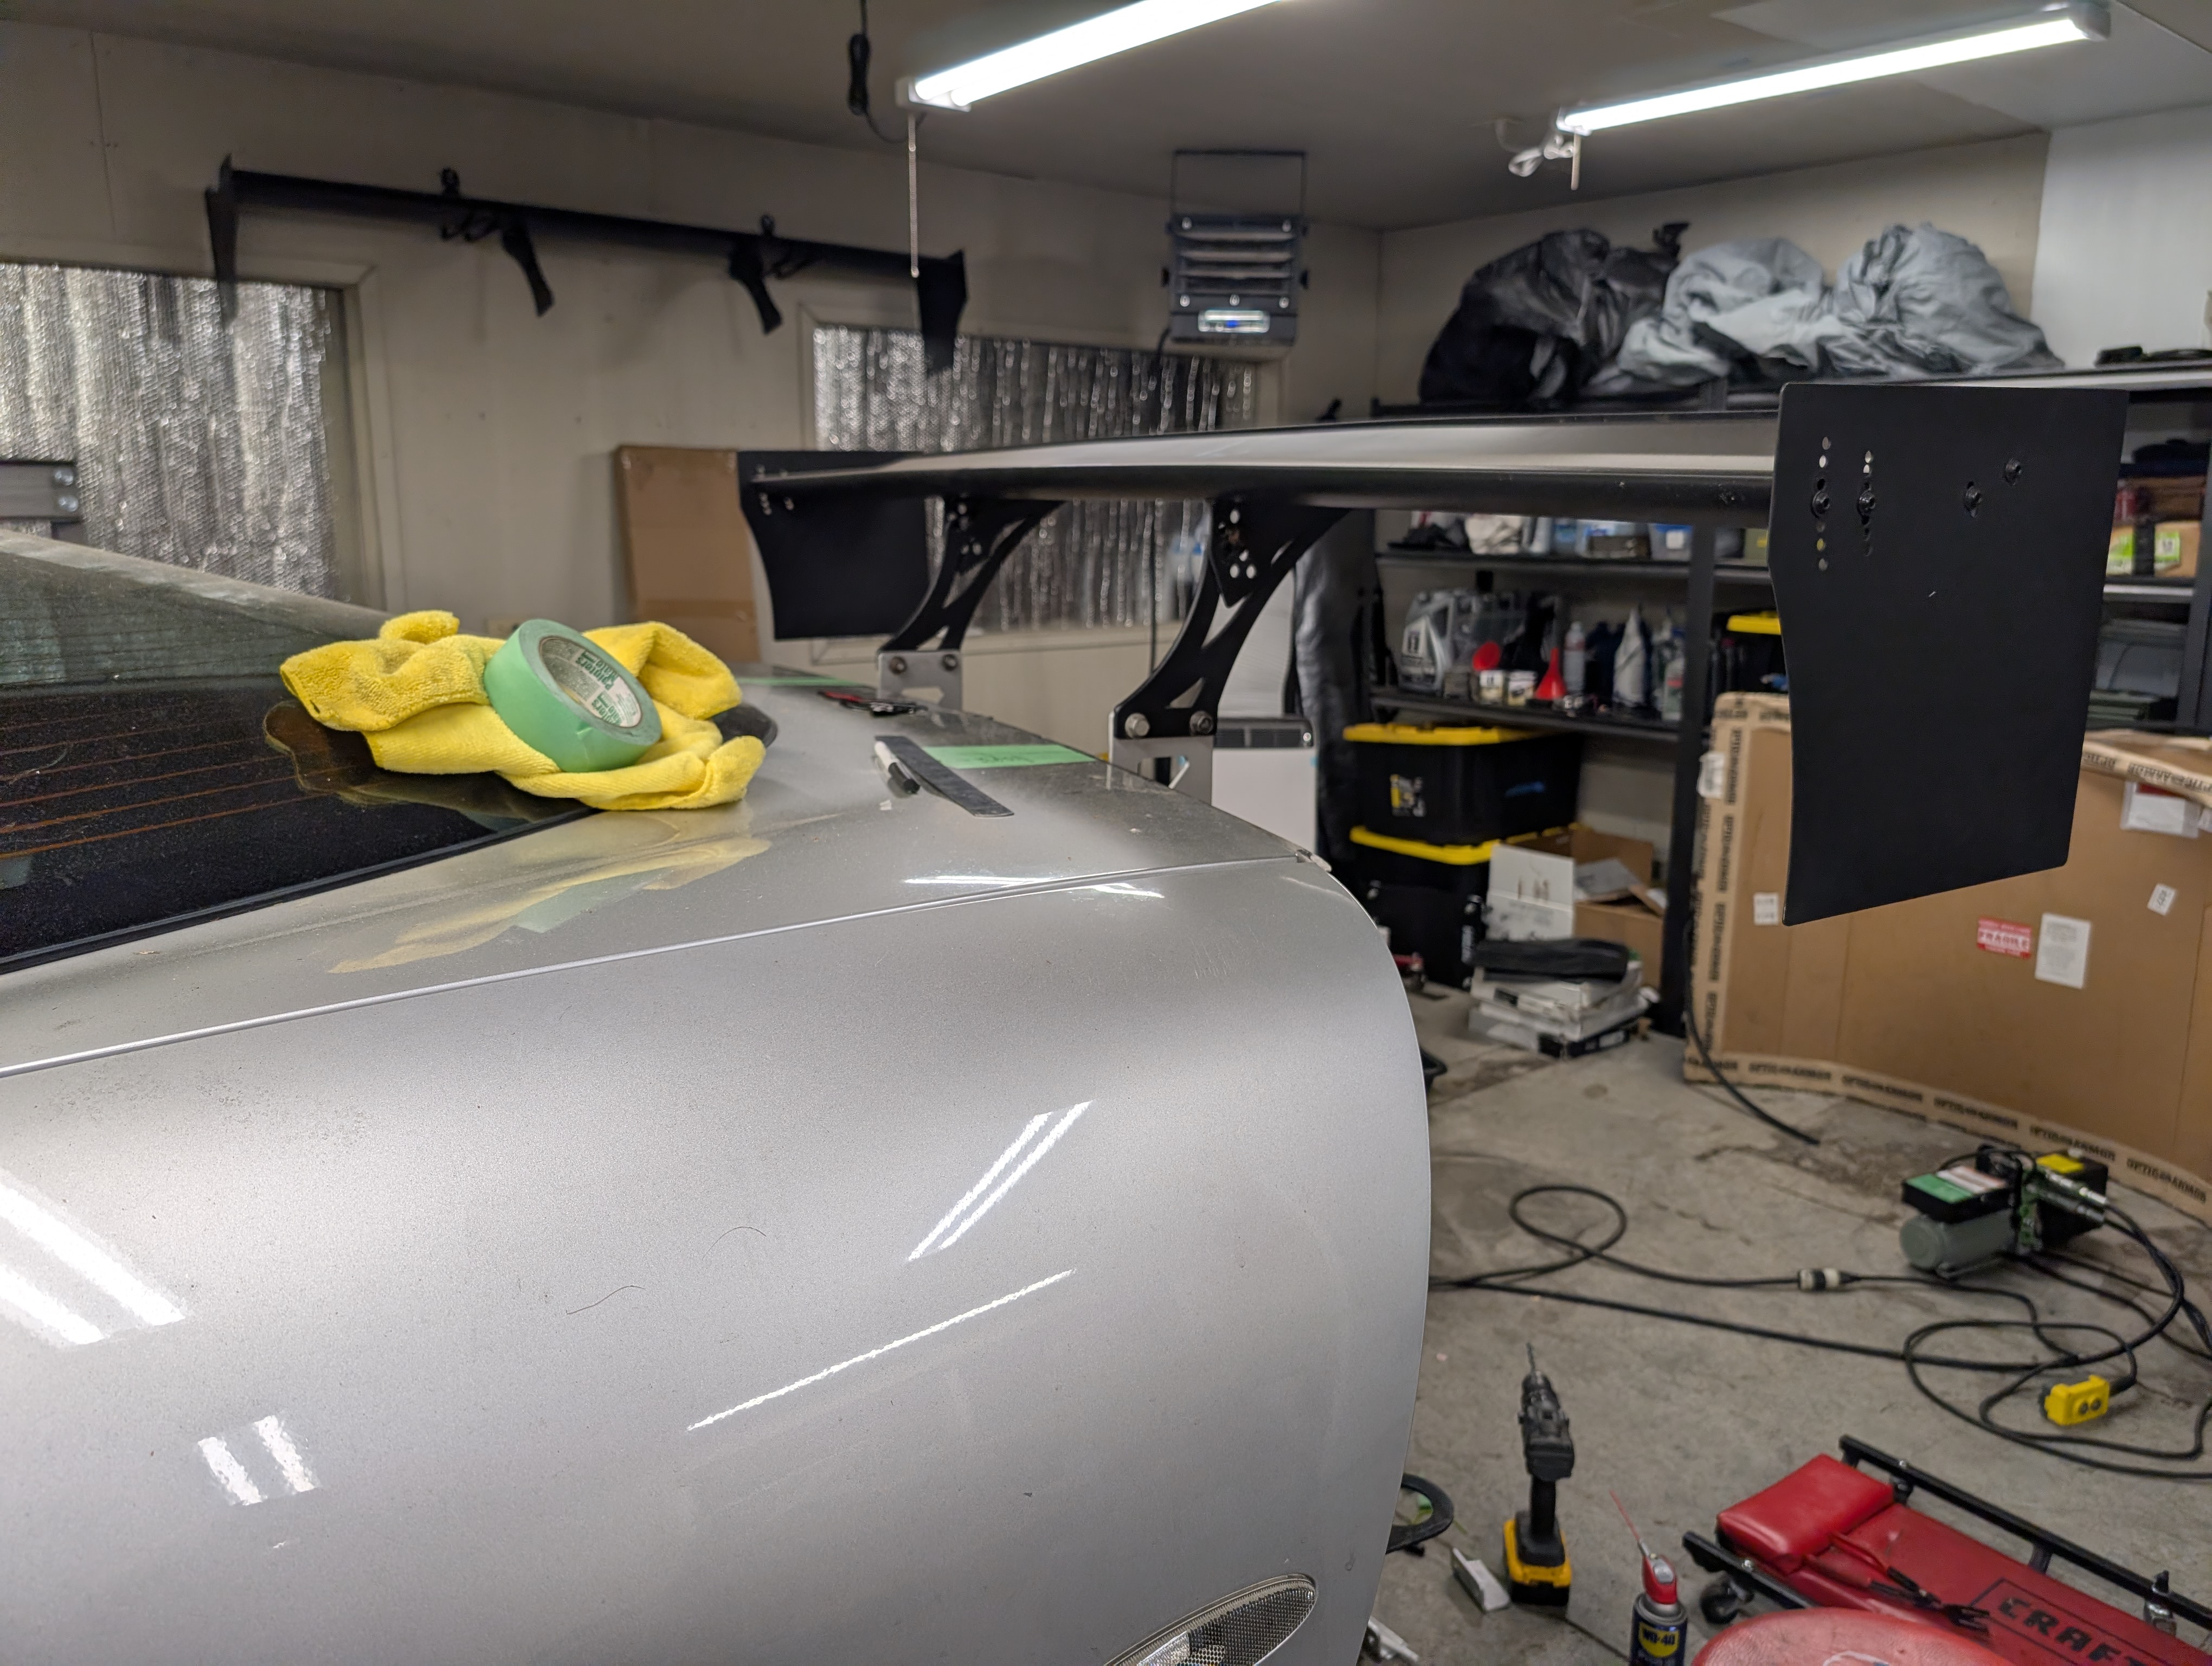
Here is our wing test fit on the Dead to Shred Corvette... and man that's one big honking wing! Most folks run 71-72" wide wings on the C5 Corvette, which is still narrower than the bodywork, but only by a hair. The only downside of such an imposing wing is when you roll up to the track with one nobody is going to believe any excuse you may have for being slow.
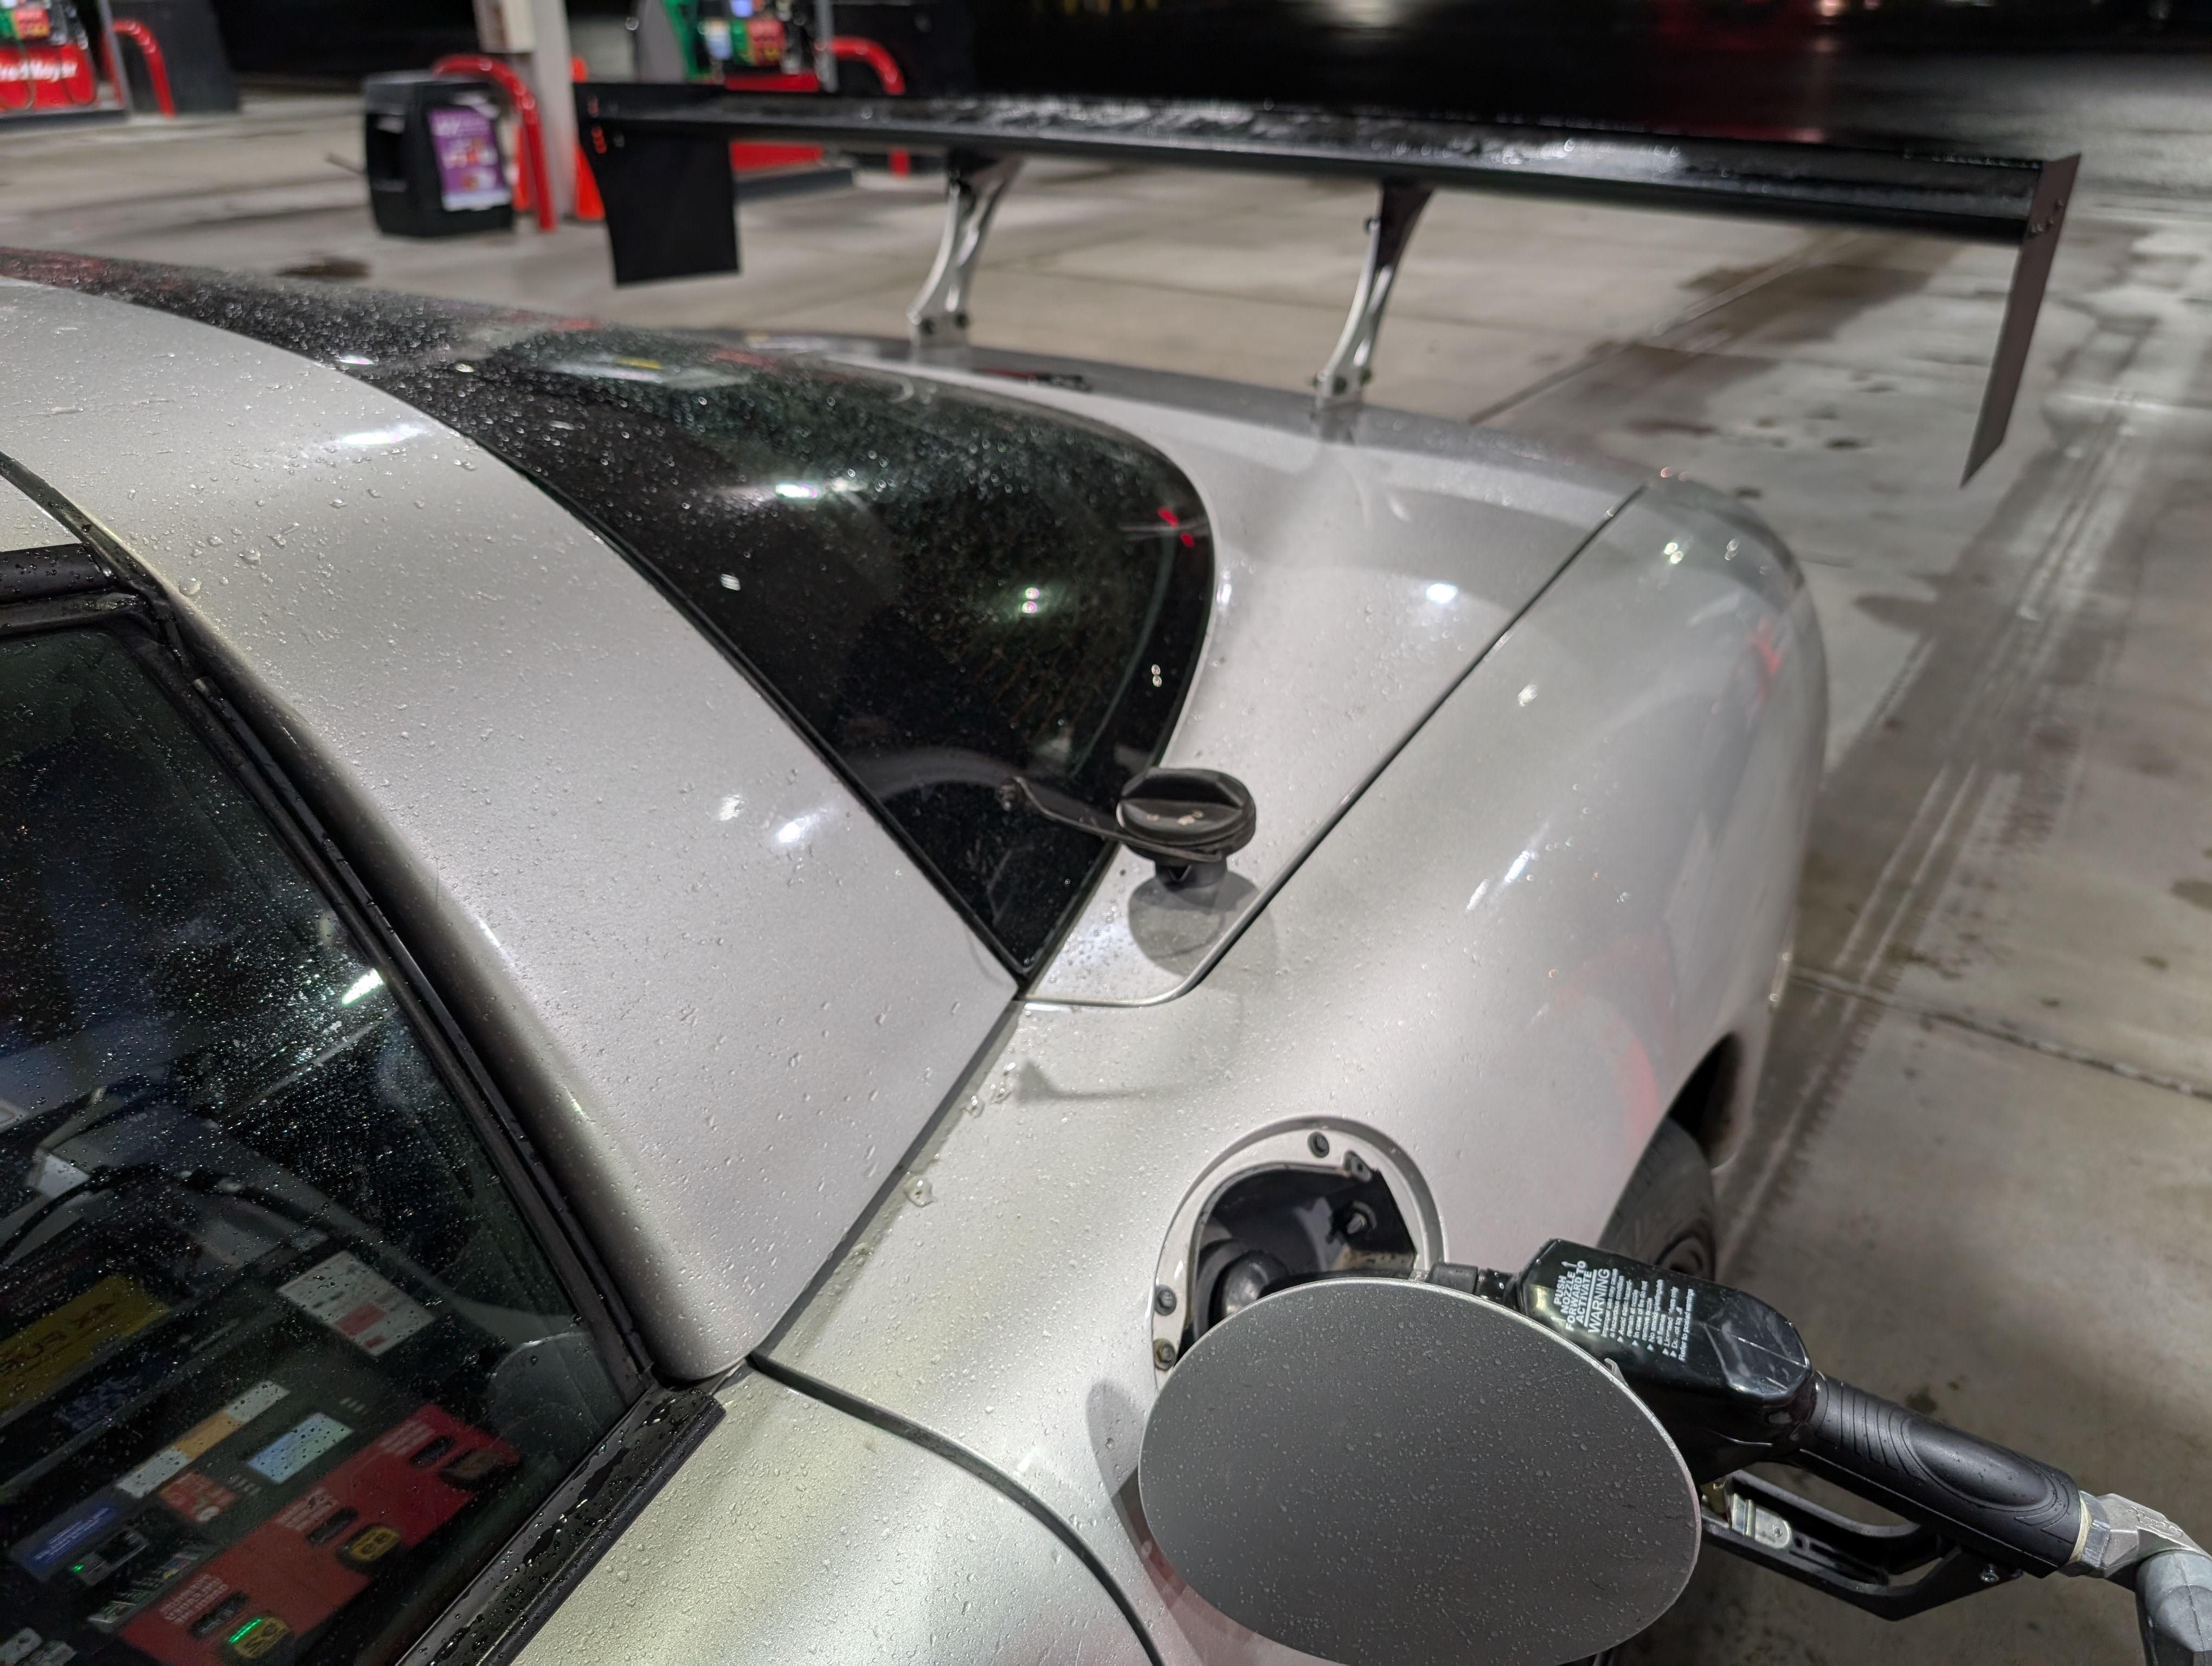
The wing was mounted up in just under a long afternoons work, and went straight to prepping the car for yet another upcoming event where we'd be sharing the car amongst a multitude of drivers to get their feedback.
Just What Did The Wing Do for us On track?
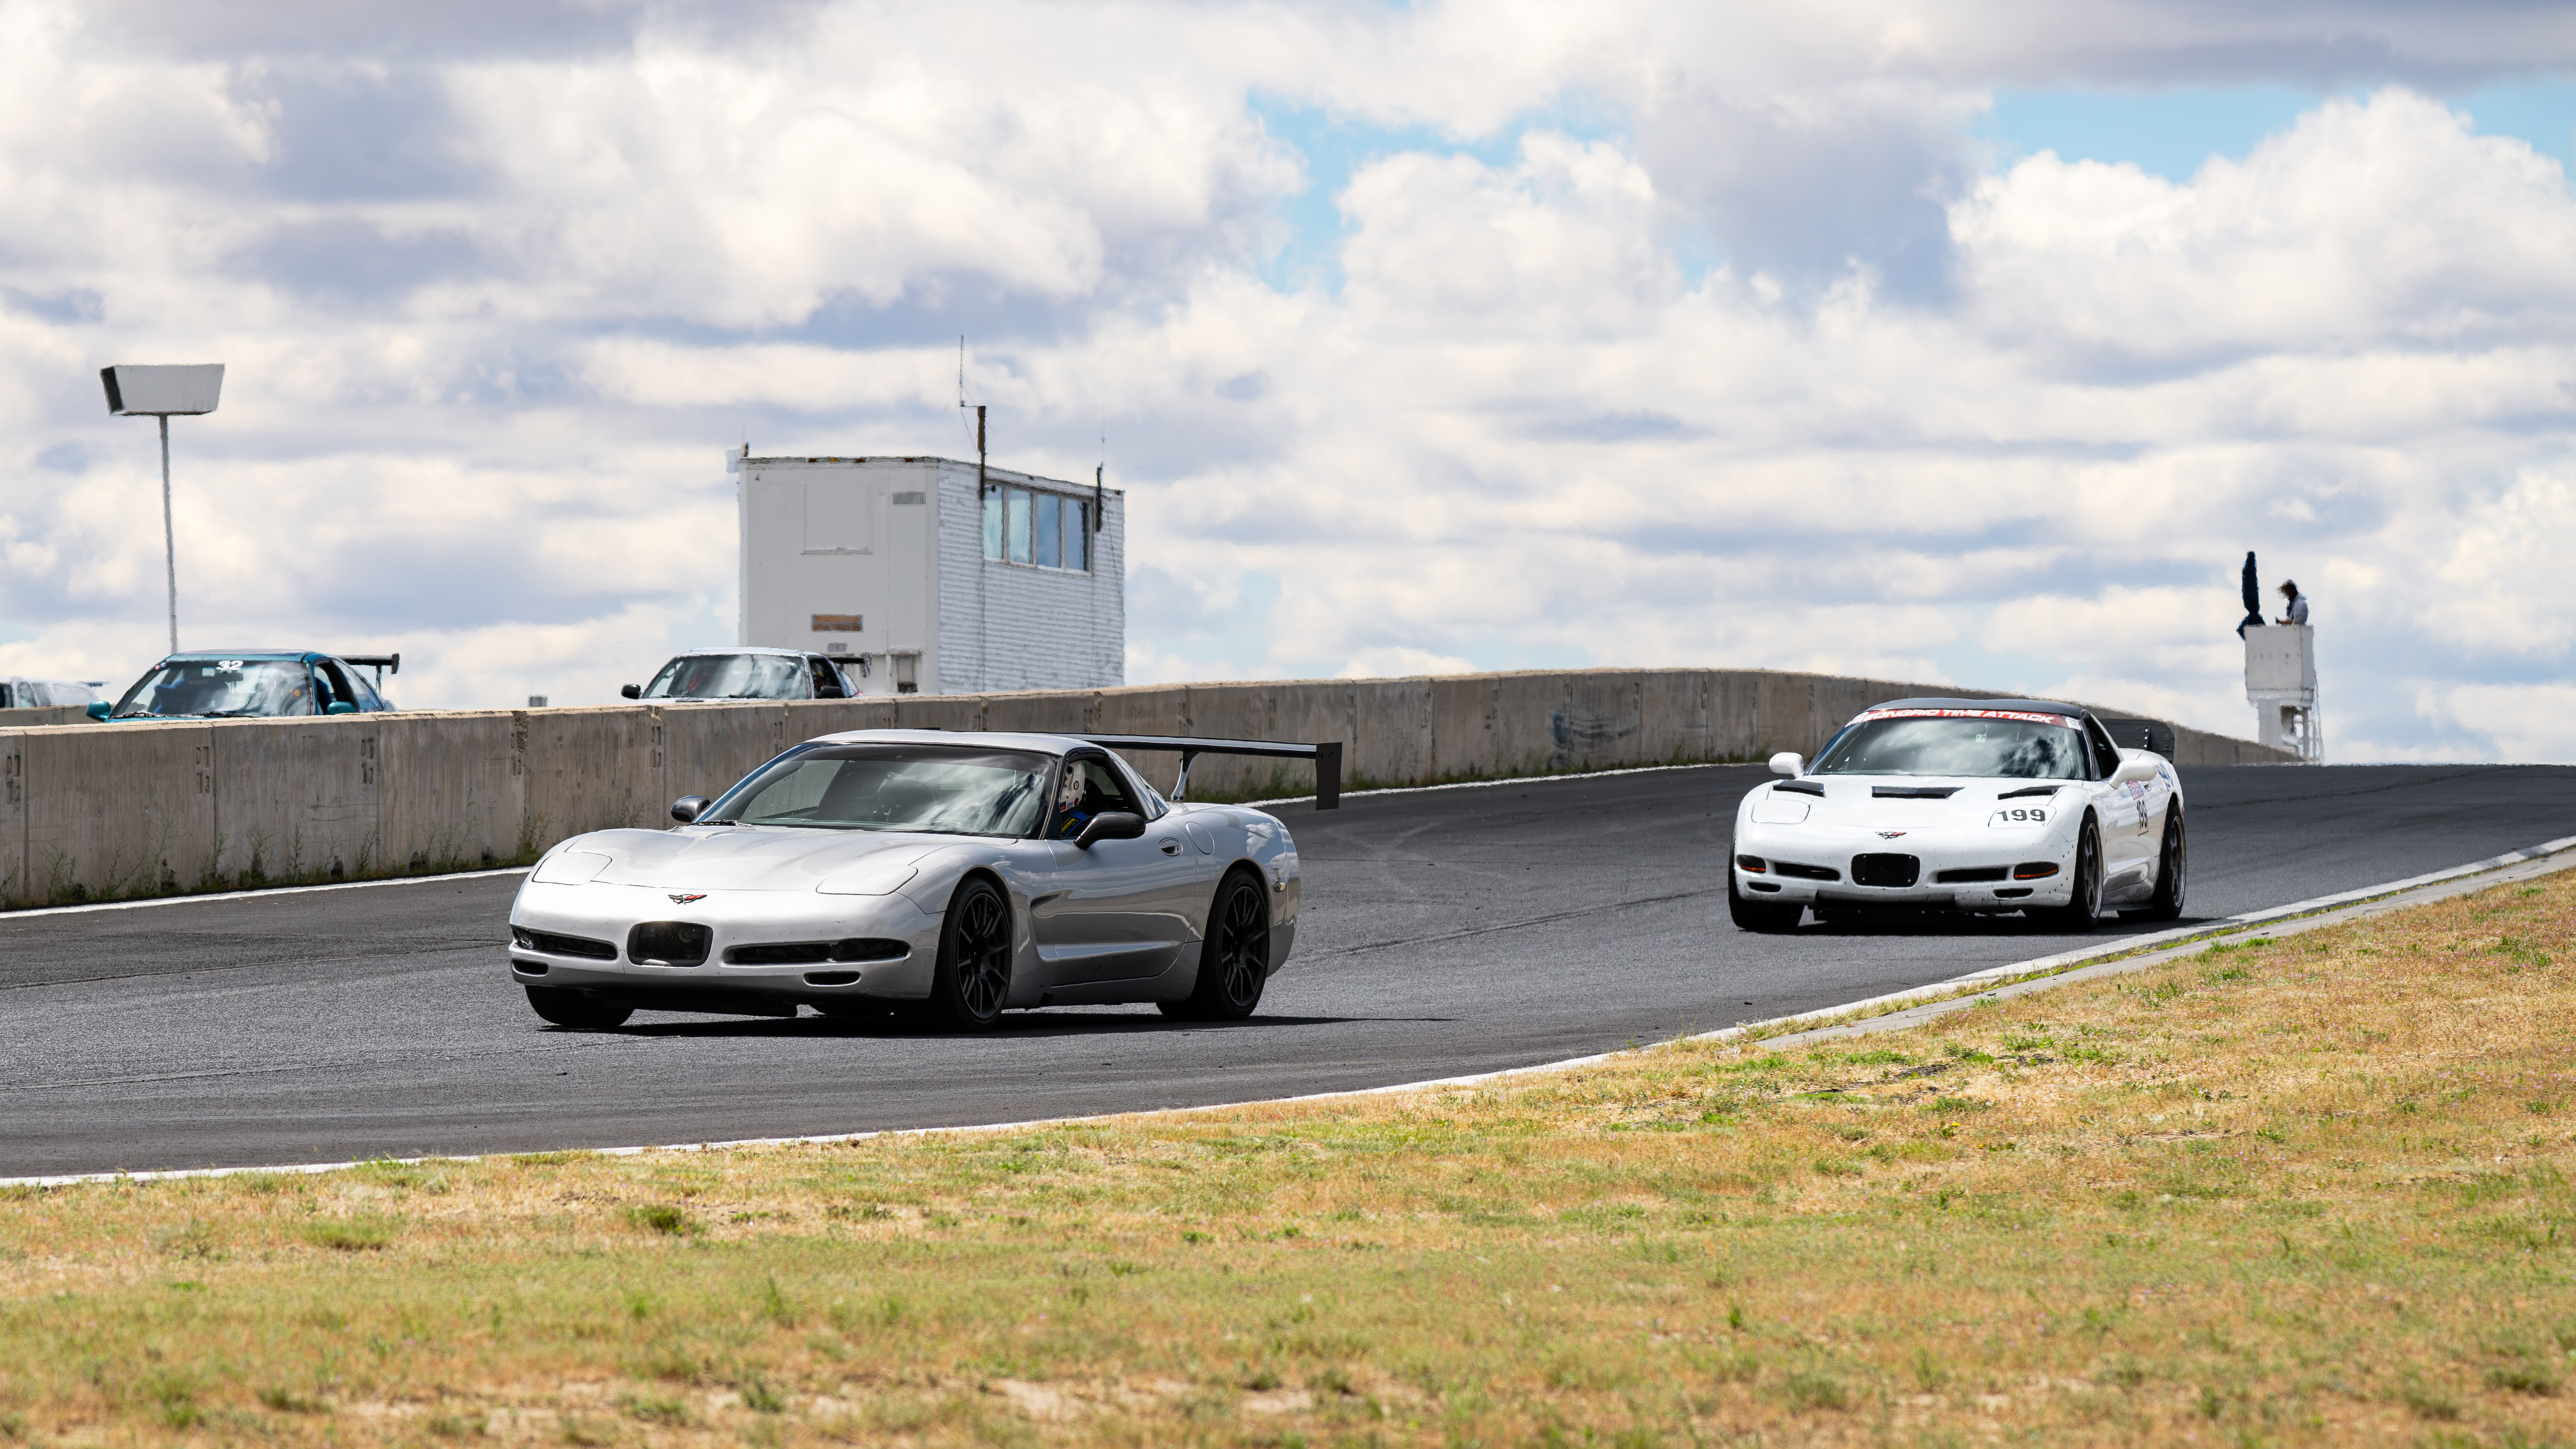
With the wing installed and a the other minor hiccups sorted out on the Dead to Shred Corvette, we packed it up and met up with Shred Jesse and his Time Attack C5 Corvette at ORP. This seemed like a perfect chance to compare two C5 corvettes back to back, especially as the Dead to Shred Corvette is very similar to Shred Jesse's Time attack build. Same tire manufacturer (Vitour) same brakes (Caddy Brembos)... and what the Time Attack C5 had in extra power, our car had in aero. Seemed like a great opportunity for folks to compare!
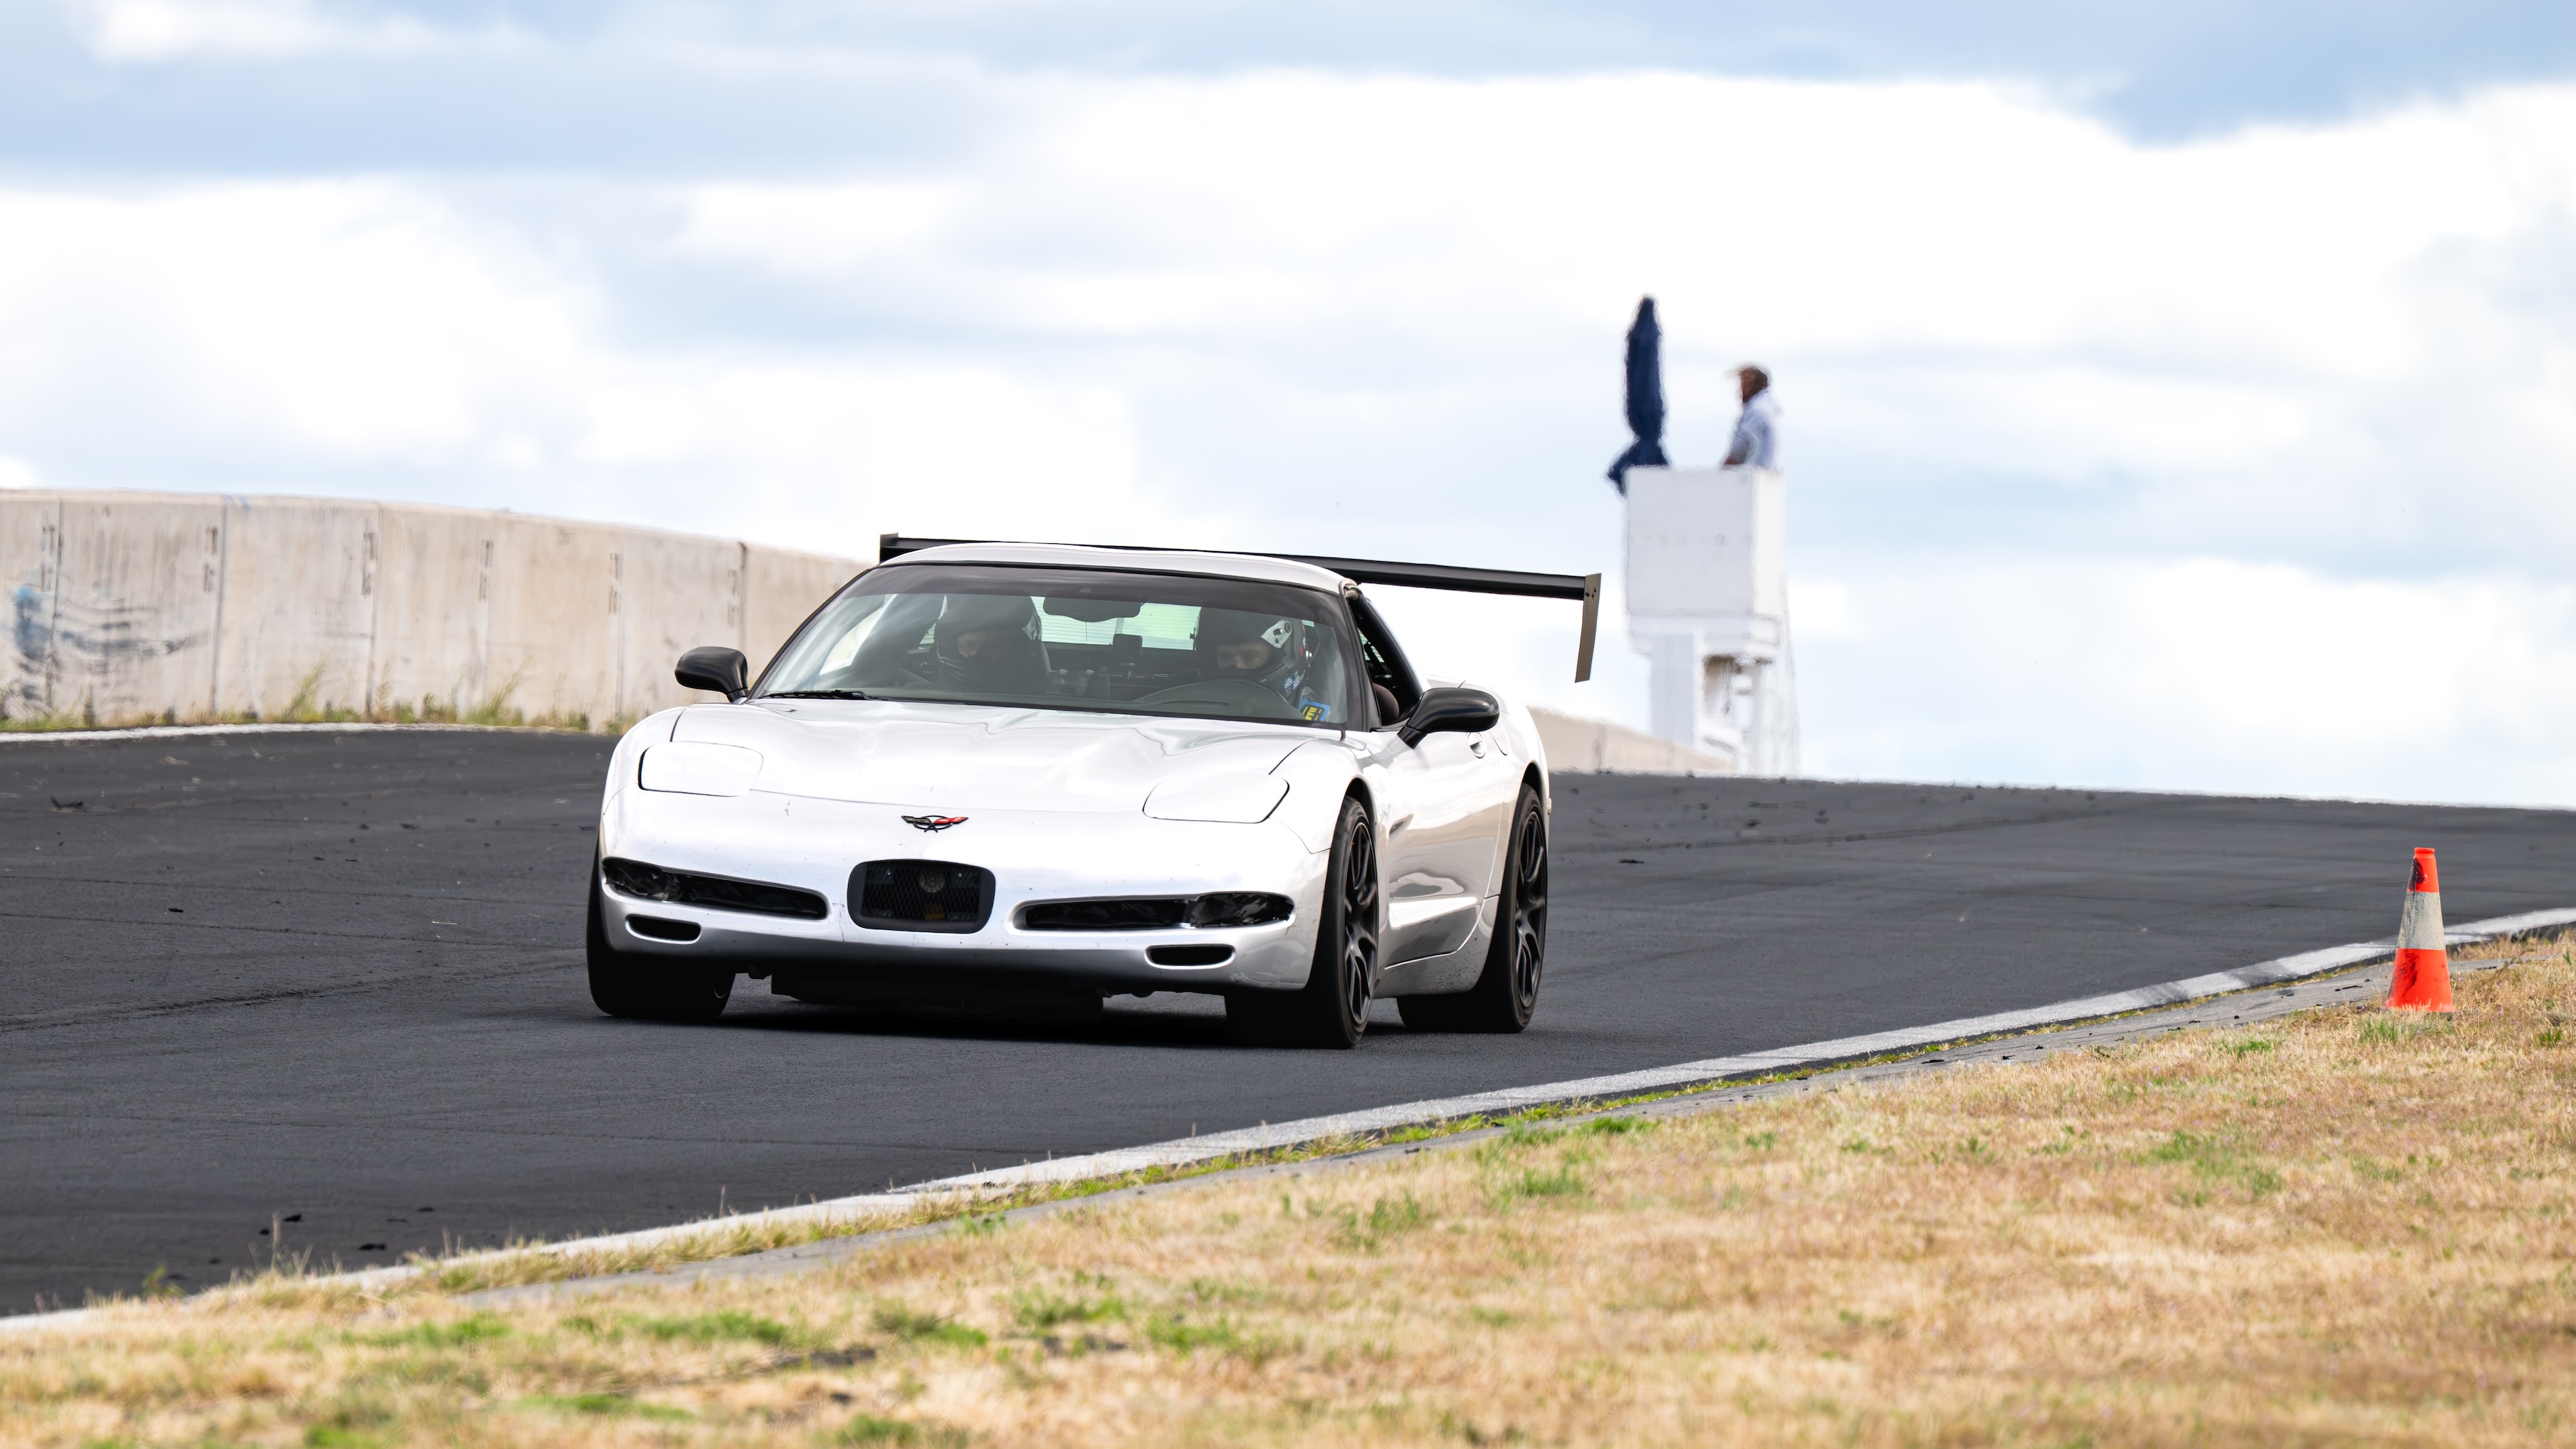
Jesse provided us the first comparison review of the car, and the results were a resounding HECK YEAH! Jesse was able to pilot the Dead to Shred C5 Corvette around the track and get within 1.5 seconds of his best time in his Time Attack Corvette. His statement however about how the car handled really cemented the wisdom of our choice to add a wing:
The car handled phenomenally. It was well balanced and predictable with exceptional braking. The fixed and upgraded ABS systems really made the braking confident, and the rear wing brought exceptional balance to the car. While I was still slower than my time attack car, I was within spitting distance in this car which still has the CD player in it and doesn't have all the rattles and pings and leg cooking that my fully caged time attack car has! If I had to pick a car right now for just fun grin inducing seat time... I'm picking this over my time attack car!
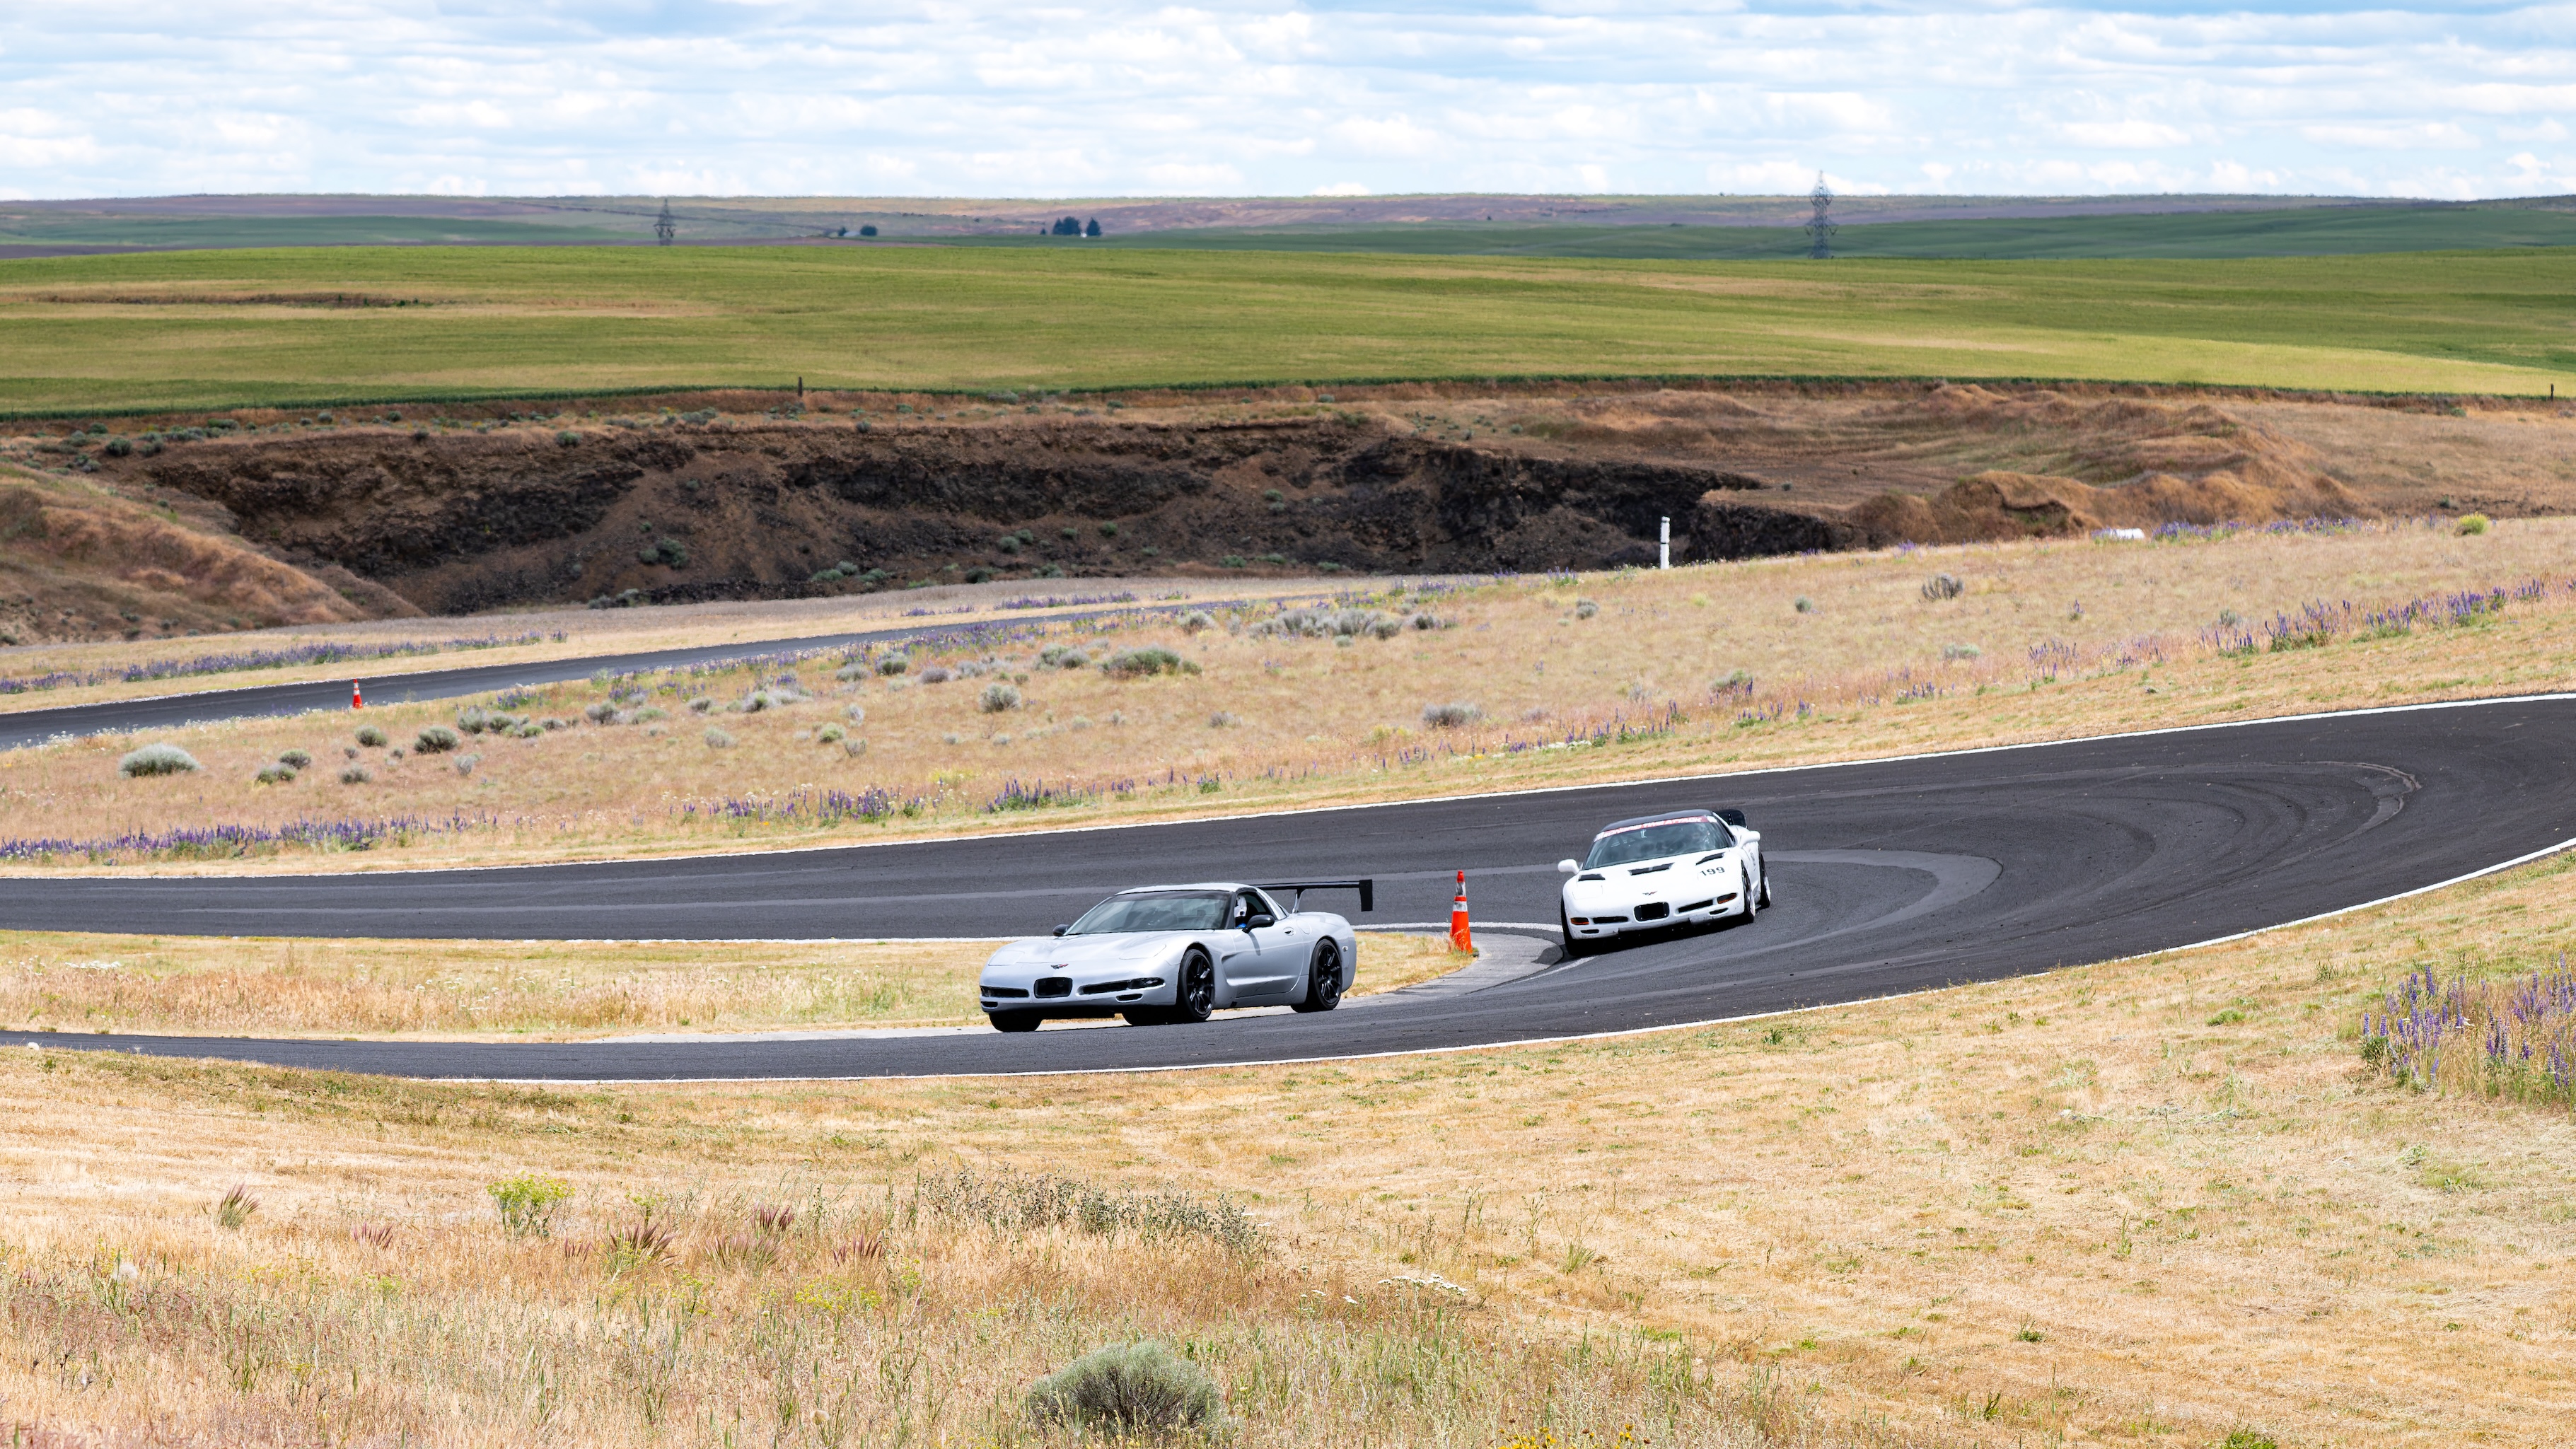
Another returning driver for the weekend was Will Fontaine. Will ran both cars last time at ORP, and enjoyed them, but found the lack of ABS and oversteering nature of the C5 Corvette held him back from his goal of a sub 2 minute lap at ORP. This time though... Will found himself feeling exceptionally comfortable in the car and was within striking distance of a sub 2 minute lap. Shred Jesse hopped out in his White C5 Corvette and followed him around the track and provided some coaching, which helped Will get down to a 1:57.8 lap time, smashing through Wills's goal of sub 2 minutes. We debated asking Will his thoughts on the car, but instead we'll just quote what he had to say after his sub 2 minute session:
I didn't just go sub 2, I went 1:57!!!! HELL YEAH!!!!!!!!!!! THAT CAR ROCKS NOW!!!! - Will
Another driver from last time, Dave, also got out in the car and turned some improved laps. He commented that aero made the car much more predictable to drive, and that the braking was vastly improved as well. We didn't capture lap time data for him, but he in general found the car enjoyable and turned a ton of grin inducing laps
The wing and ABS really helped. - Dave
Given you likely don't know Dave, if it isn't obvious he's a man of few words!
So there you have it... the results were unanimous!
The car handles much better with the wing balancing the cars handling out better. The addition of ABS also vastly improved everyones driving experience, and everyone was happy and everything was great... or was it? Two areas of major issue remained after the event.
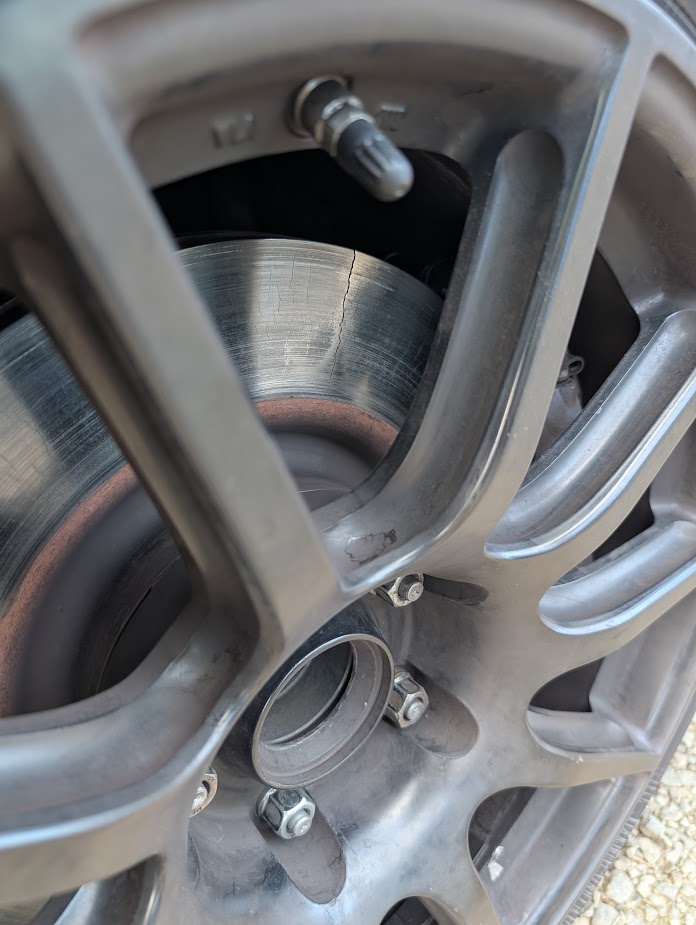
The first issue is the brakes obviously got WAY too hot and one front rotors cracked. We've seen this before though: additional wheel well venting would be needed to help hot air from the brakes escape out of the wheel well. We knew that the factory missing brake ducts were going to be an issue as well, but not this much of an issue... so look for a fix to this in the next issue!
The second issue is one we can't really provide a picture for... the clutch on the car is toast. It actually probably isn't the clutch, and it's the slave cylinder preventing full clutch disengagement and making shifts terrible along with the pedal sometimes sticking to the floor. Unfortunately for Corvette owners though the task of fixing the slave cylinder takes your average DIYer several days of work AND takes you right up to the clutch... and since going back in there yet again in a few short months time would be wasteful, you do the clutch while you're there.
So stay tuned, as next episode of Dead to Shred we'll be digging into the dreaded and oft avoided drivetrain removal and service along with clutch replacement on our C5 Corvette and show you just how to do it yourself!