The C5 Corvette LS1 Engine ships from the factory with a 4 port steam port crossover that runs under the intake manifold. This steamport crossover helps ensure that steam cannot get trapped in any of the pockets of the head resulting in a hot spot which can lead to head gasket failure and/or other catastrophic engine failure. Thus, the steam port crossover on heads has a use, and an important one at that. That said, Many folks will note that the LS6, LS2 and LS3 engines all simply plugged the rear crossover ports and only ran a crossover up front, and this is indeed correct. However, whether or not this was the best choice for the LS engine or simply a factor of simplifying production or reducing costs is to be determined... and a lot of folks swear that the improved 4 port crossover will ensure that steam cannot build up anywhere in the engine, and it doesn't hurt anything to have... so it would stand to reason if you have one, why not keep?
So we've determined the 4 port LS Steam Crossover piping is worth keeping. Why does that matter?
Well, for starters it can be challenging to retain when upgrading to an LS6 style intake manifold for more power, or an LS6 valley cover for reduced oil ingestion at high RPMs. There are DIY ways around this, such as notching the bottom of the LS6 intake, bending the OEM piping.. but I was recently dealing with this on a build with an LS6 intake AND LS6 valley cover and it becamequite the nuisnace. Thus, we'd like to add another option to the mix that is fairly reasonable to do for the DIY'er looking to retain (or in the case of an LS6, add) the 4 steam port crossover piping.
Aside: it is worth noting at this point there are a fair bit of aftermarket solutions available for this, though they are not as clearly indicated as working on the LS1/6 with the C5 Corvette. Many will also indicate they are not compatible with "car" style intakes. They all near universally cost $150... and we've got an option here for you that will cost under $50, especially if you already own the tools or have the hose clamps around your shop. Even if you have to purchase every tool listed though, you'll finish the job and not only have saved money, but gained in tools for future work. To me, that's worth it!
Parts List:
- Hose - 1(0 ft will suffice, best to have more and not need it!)
- Mini Tubing Cutter
- 4x Brass T fittings, 1/4" (NOTE: Sold as 2x units, so just order 2 in order to get 4)
- Double Flaring tool
- Coolant Crossover gaskets
- Hose Clamps
- Spring style (recommended for constant tension)
- Worm Gear (Works, but not preferred)
- Cable Clamps (optional for clean mounting look)
- Small Tubing Bender
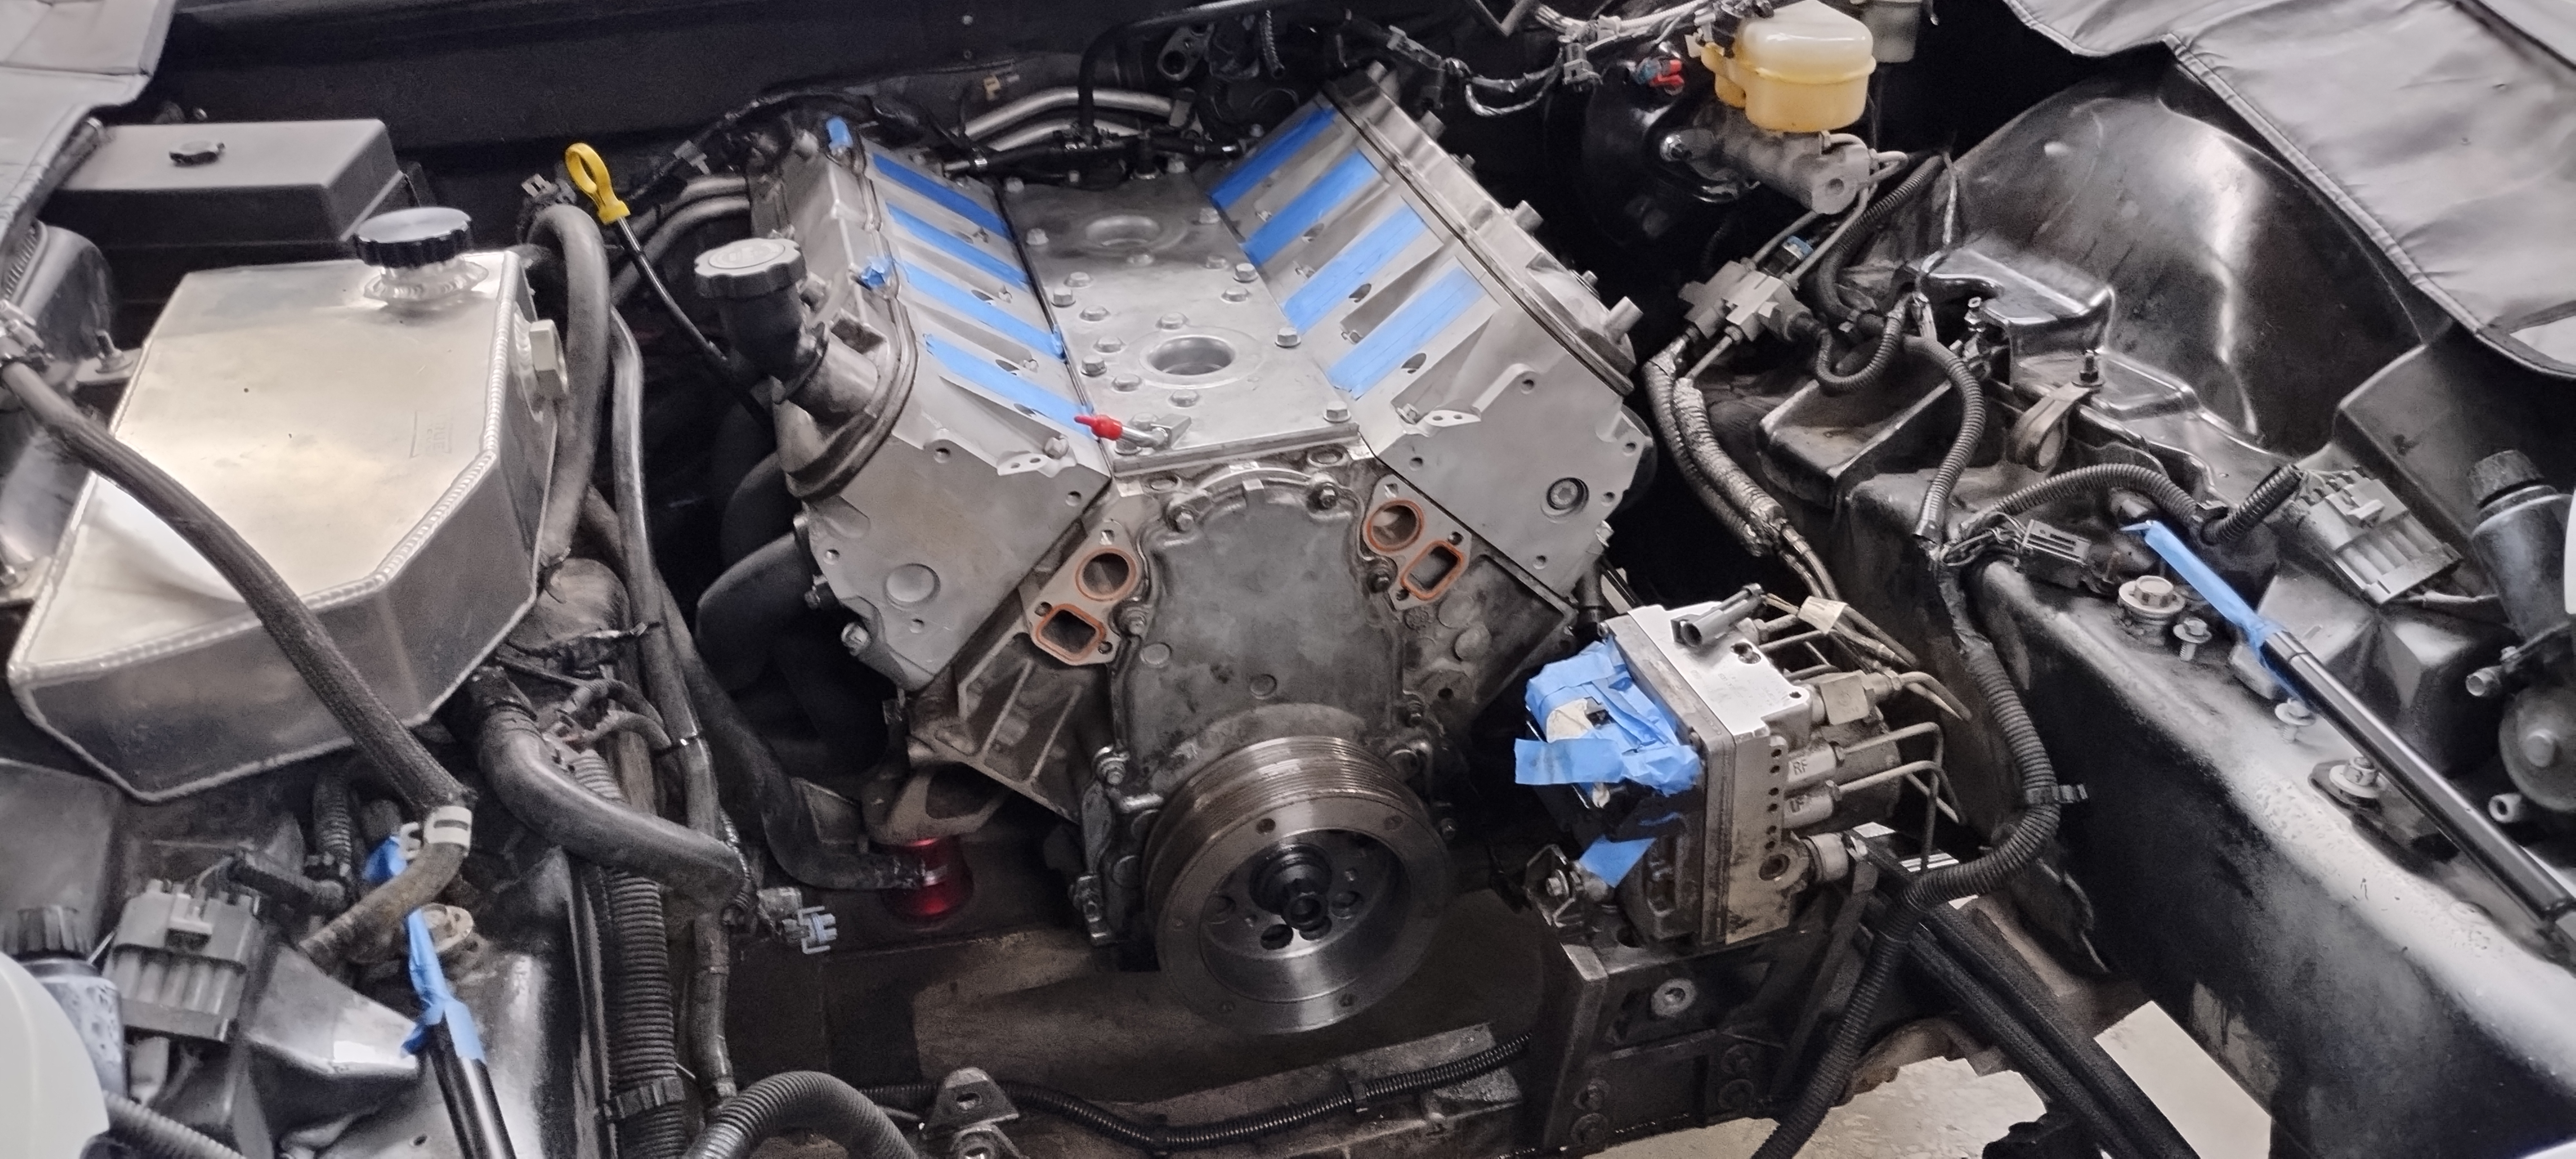
Step 1 - Remove Intake and Complete Any Other Work
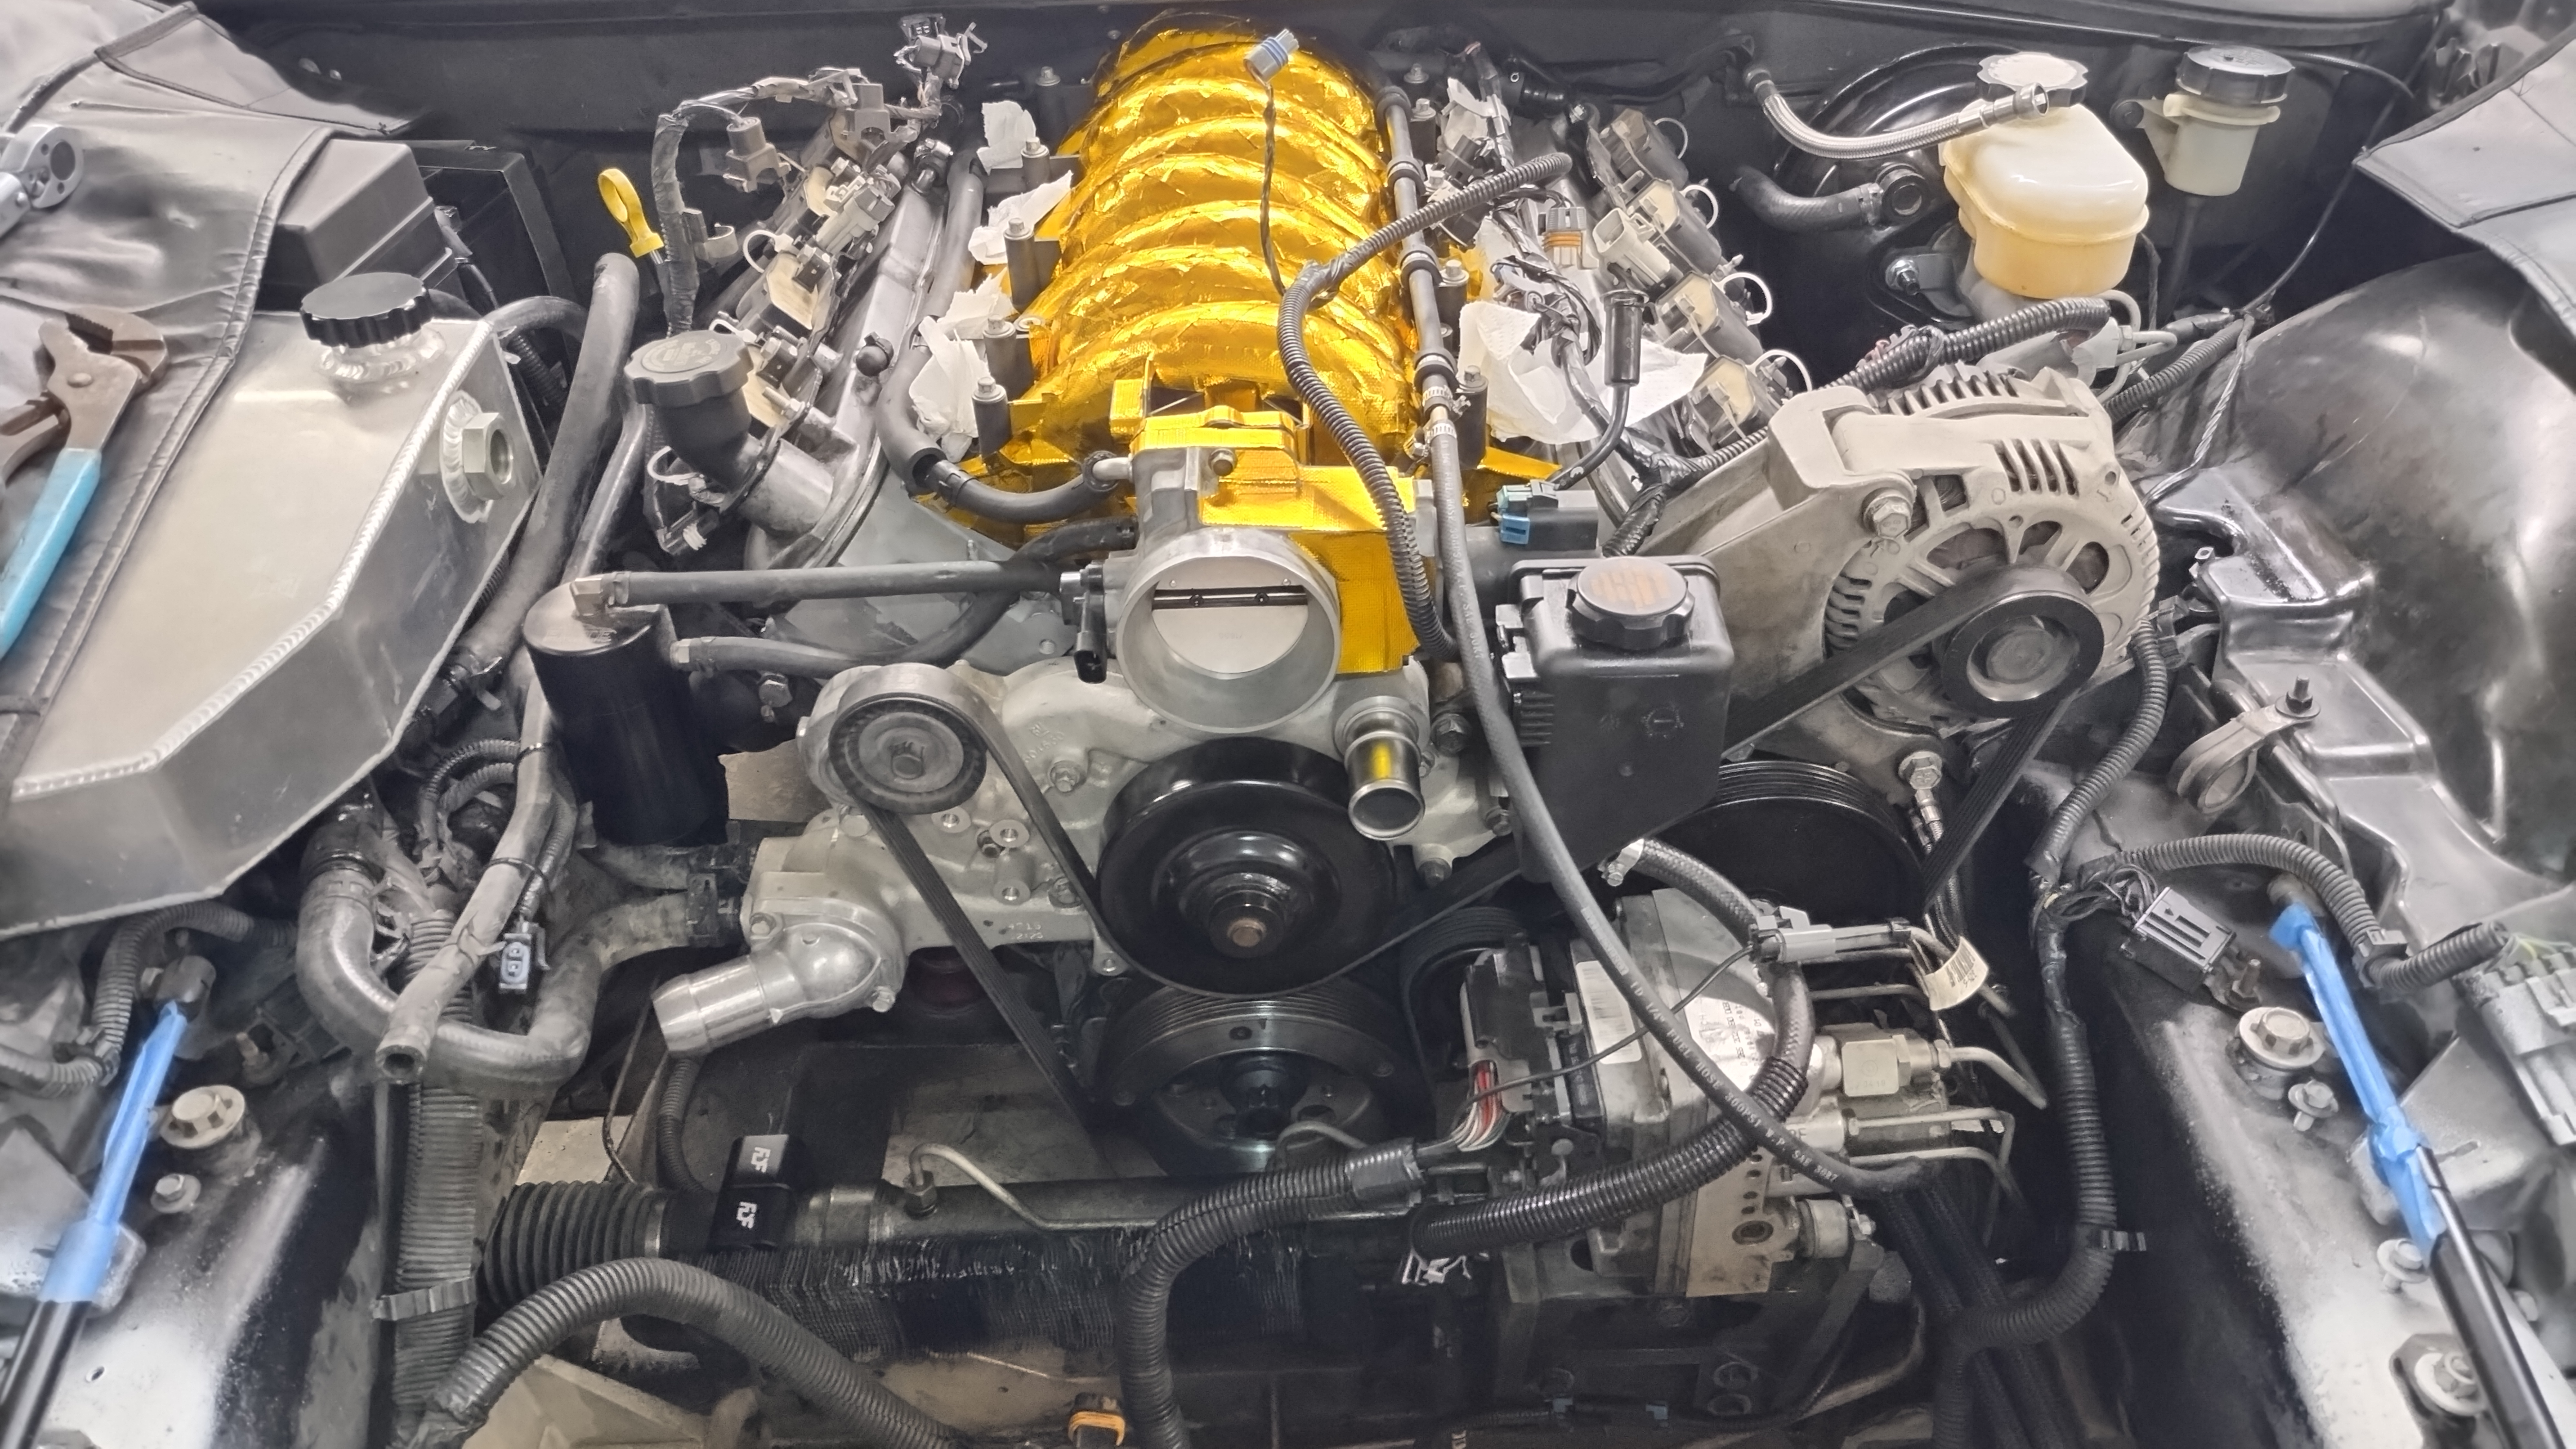
So for most folks, this task will likely be completed as part of some other larger job such as installing the LS6 Intake Manifold, installing an LS6 Vallye cover, and/or a job such as changing out the heads and/or cam on your motor. In my particular case, I was doing heads and cam on my LS1 C5 Track Car.
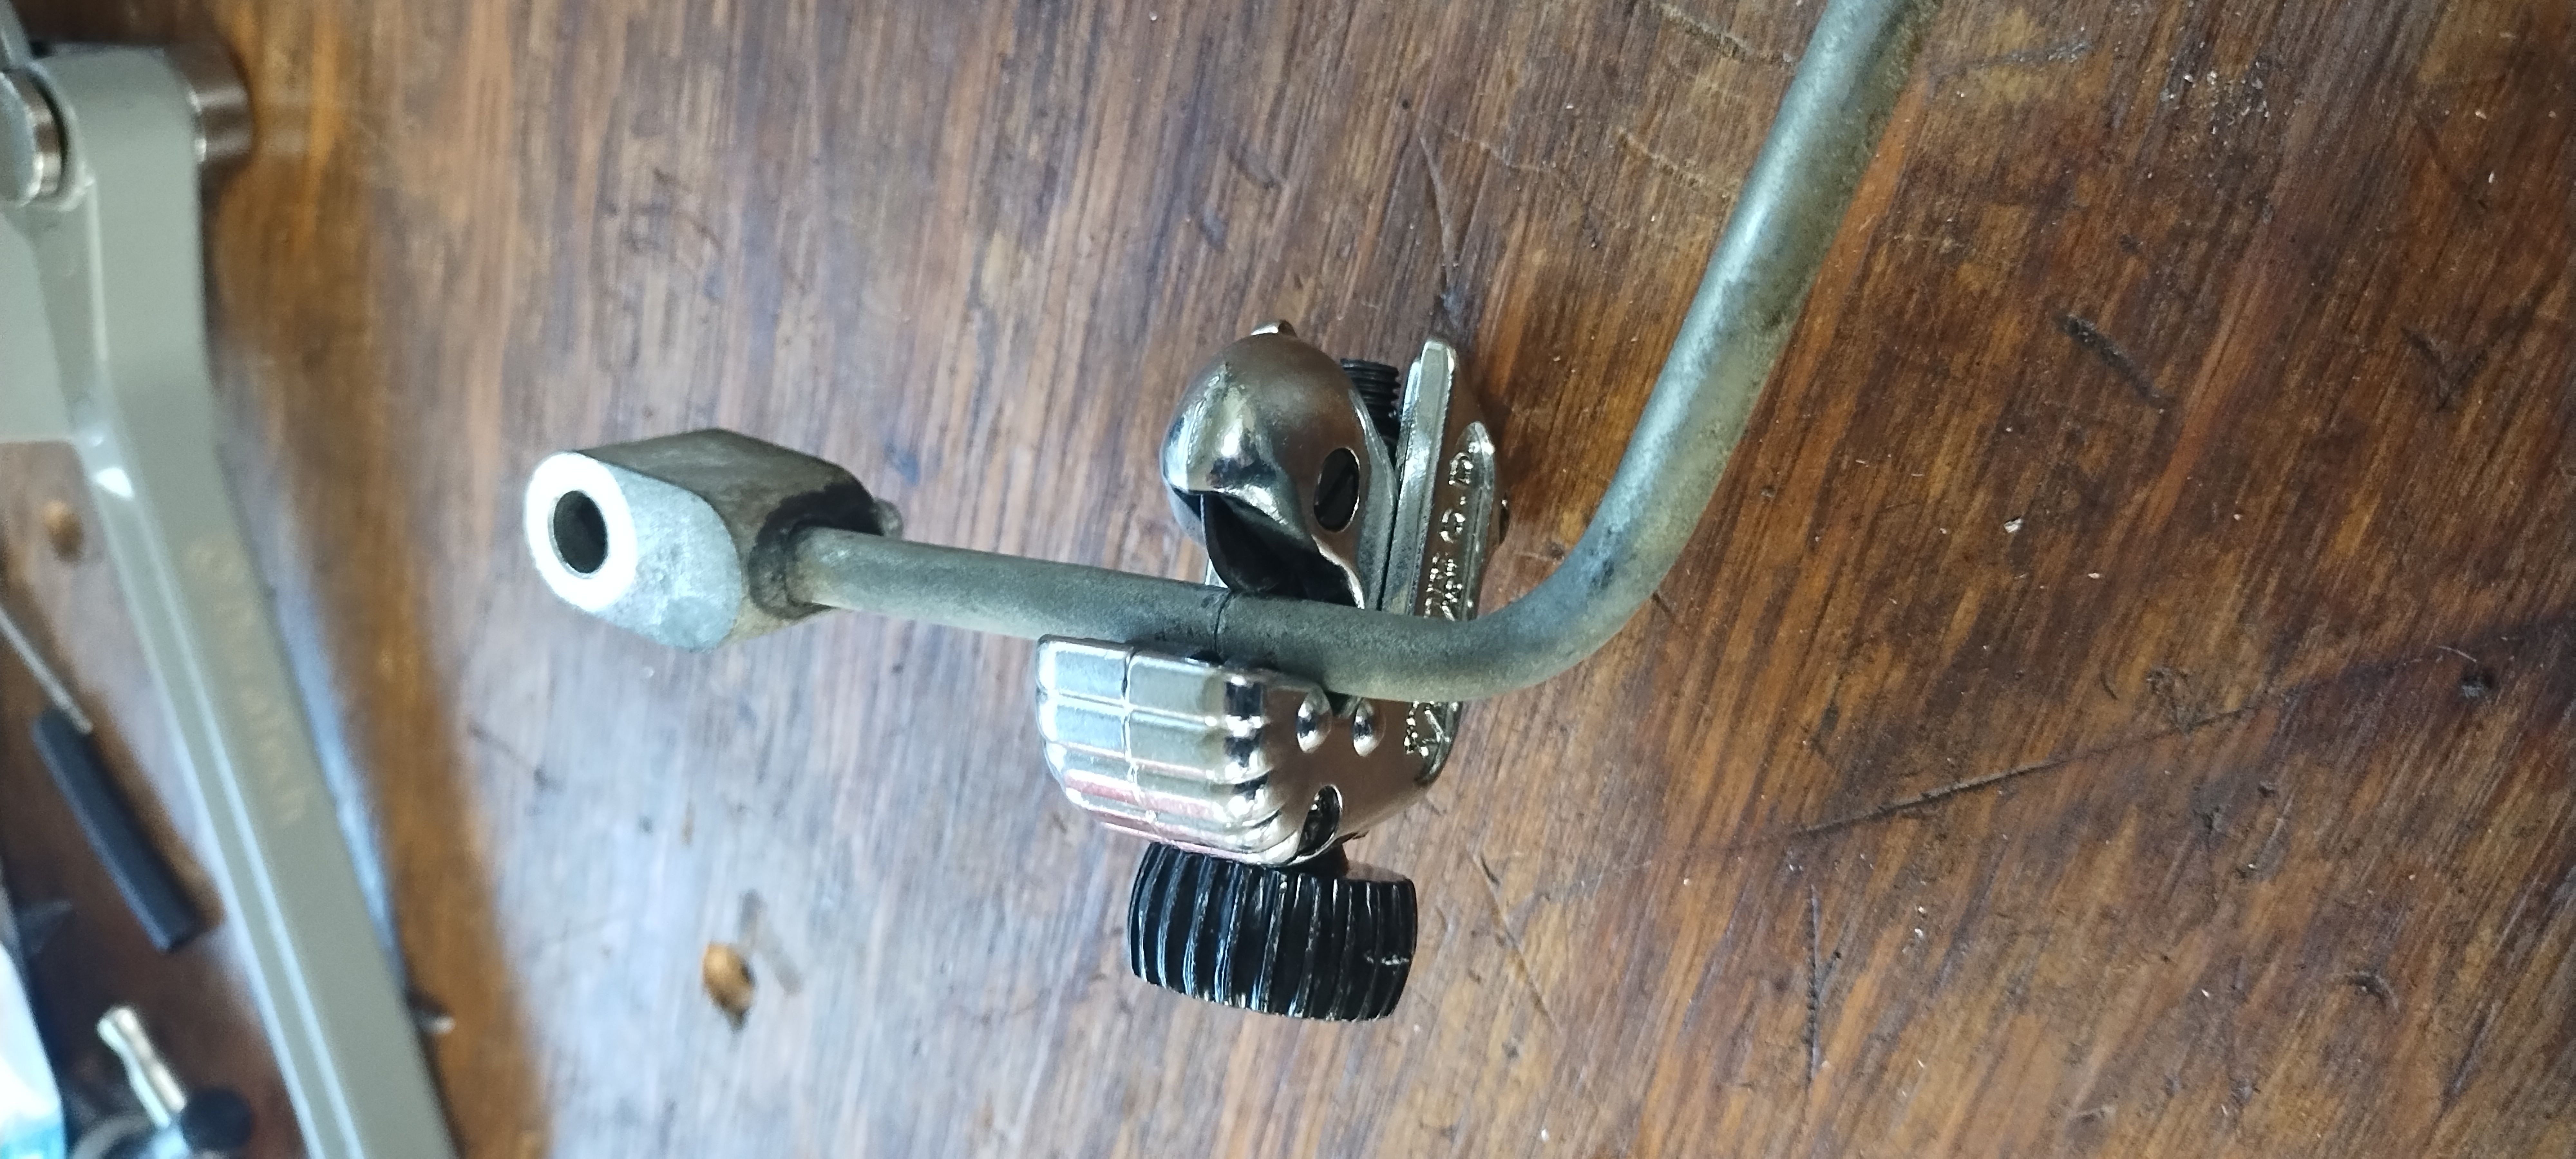
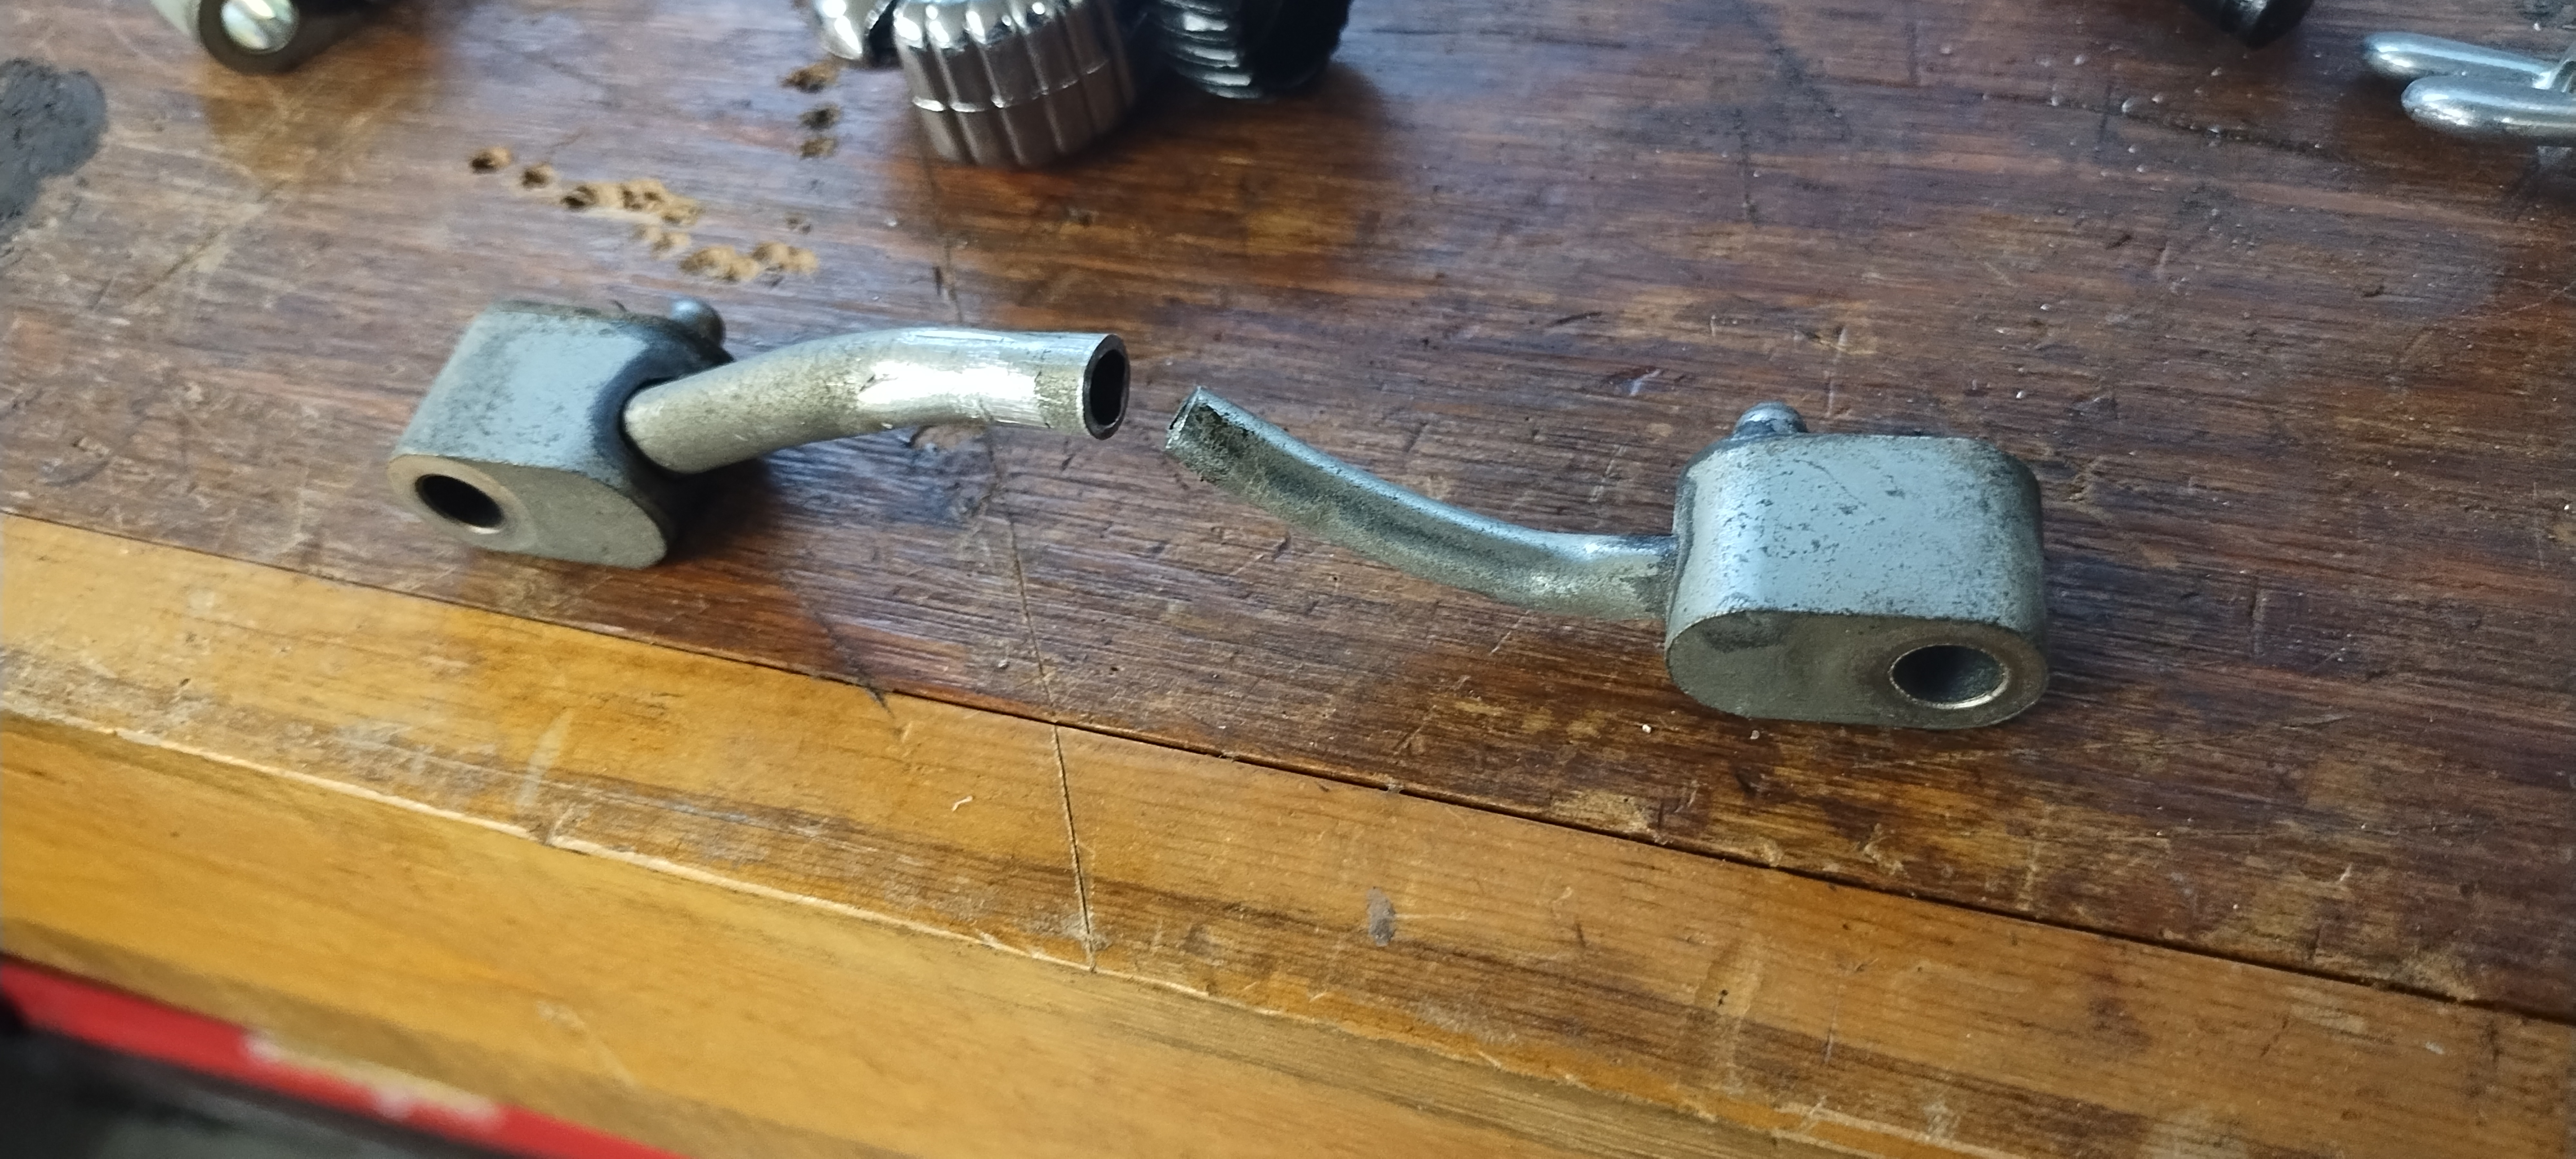
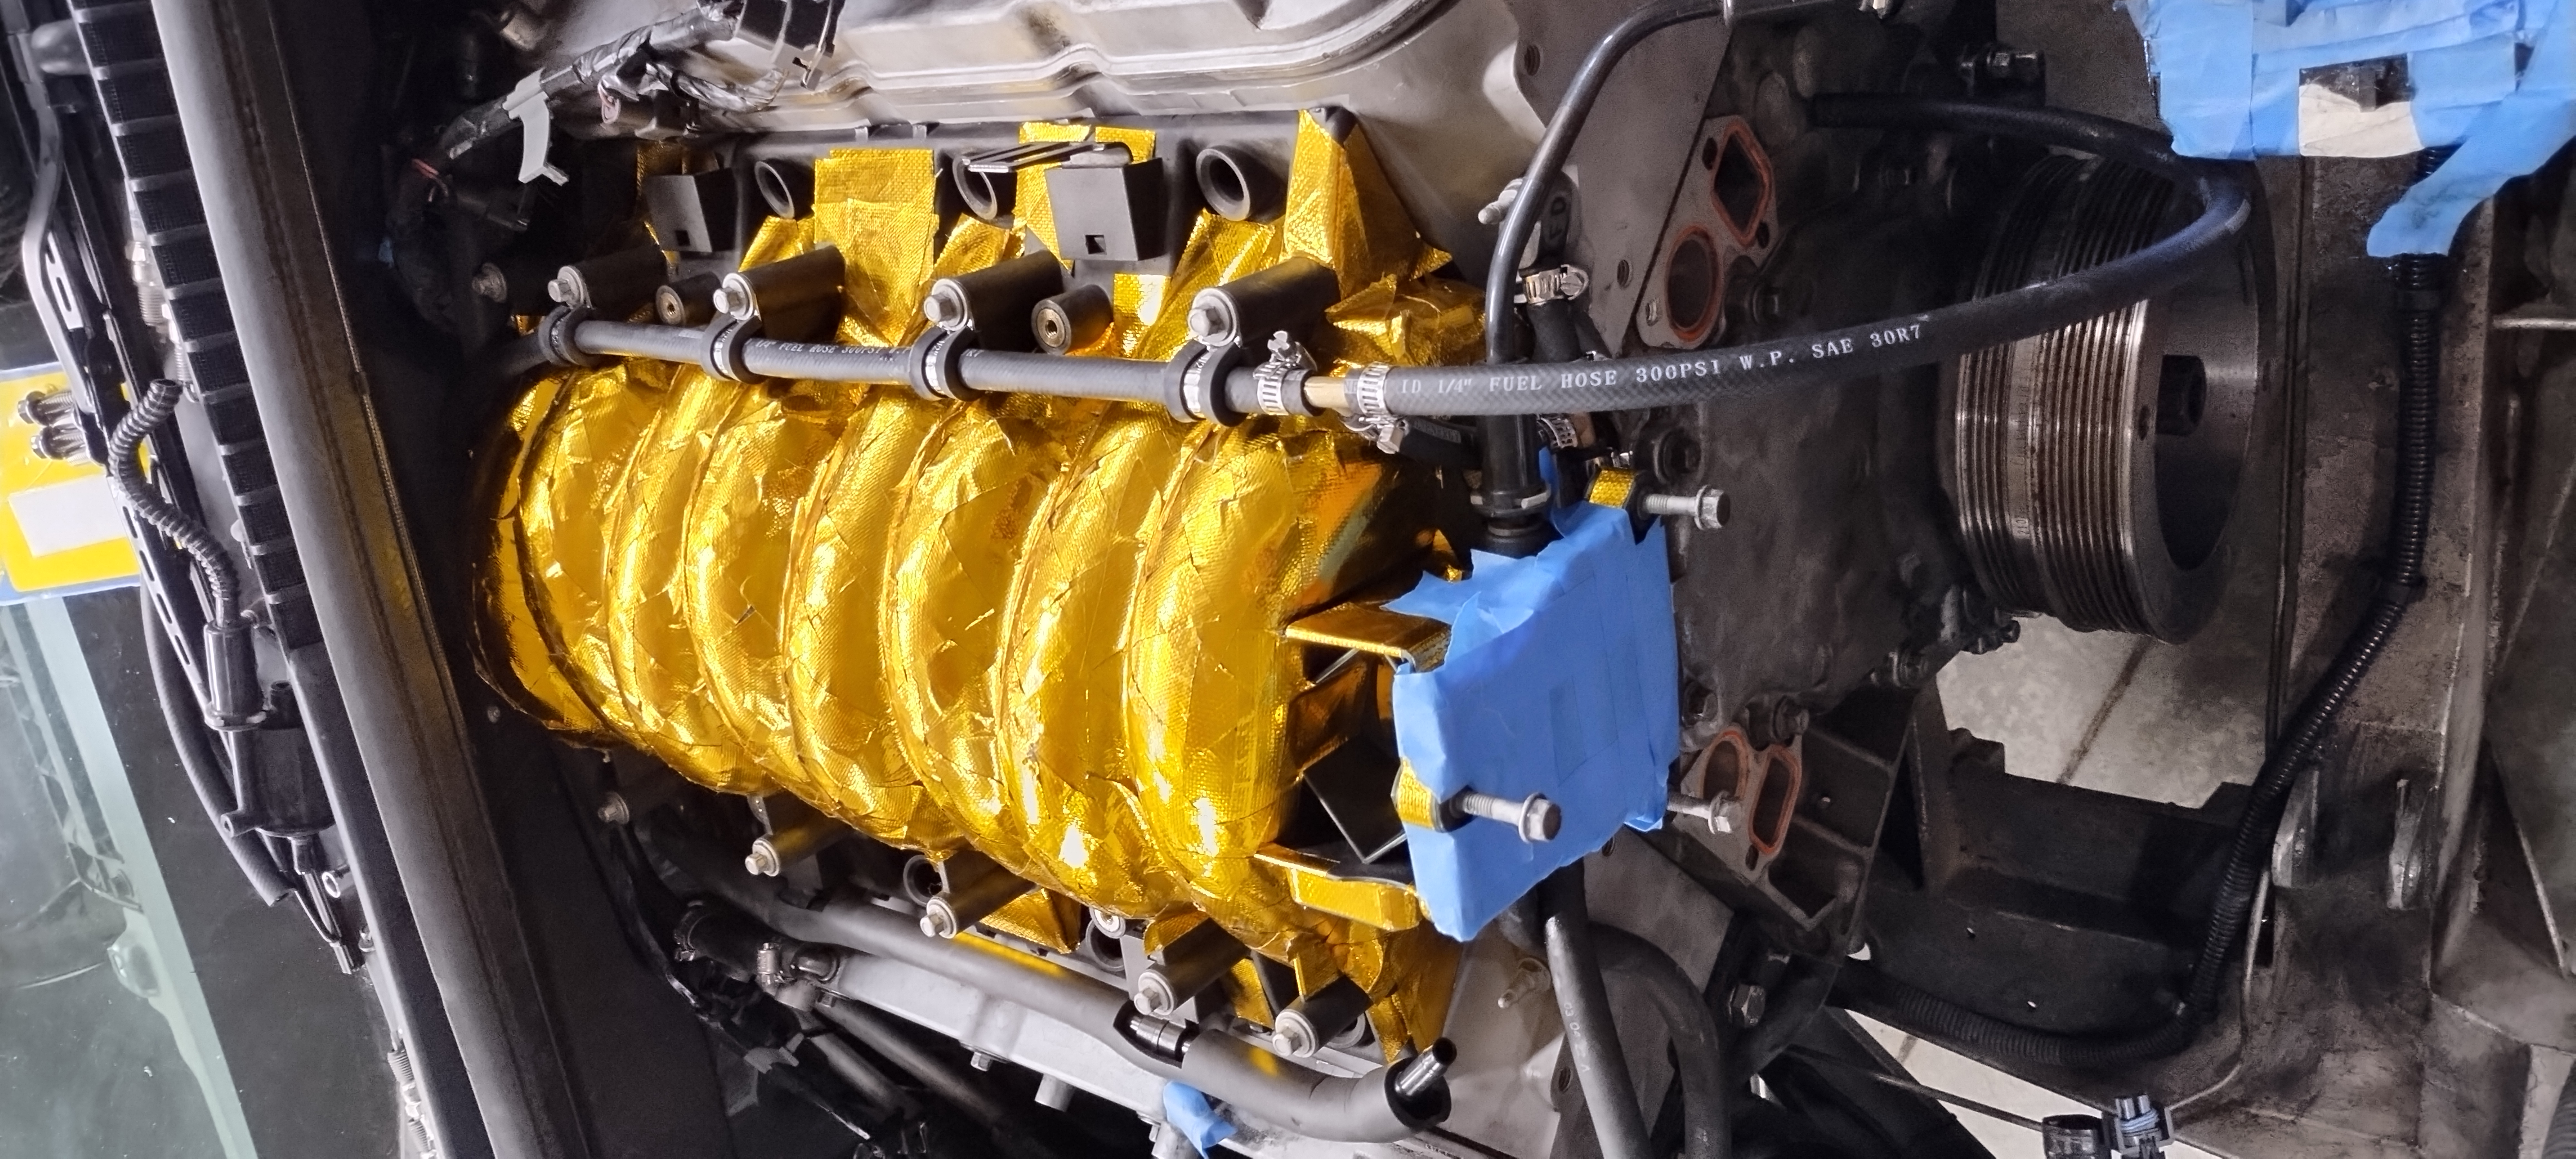
Step 2 - Cut the OEM Crossover Piping
Next up, you'll want to cut each of the 4 corners, as you will be flaring these ends and attaching hose to them to plumb the entire system together.
Step 3 - Check Alignment, Bend piping as Necessary
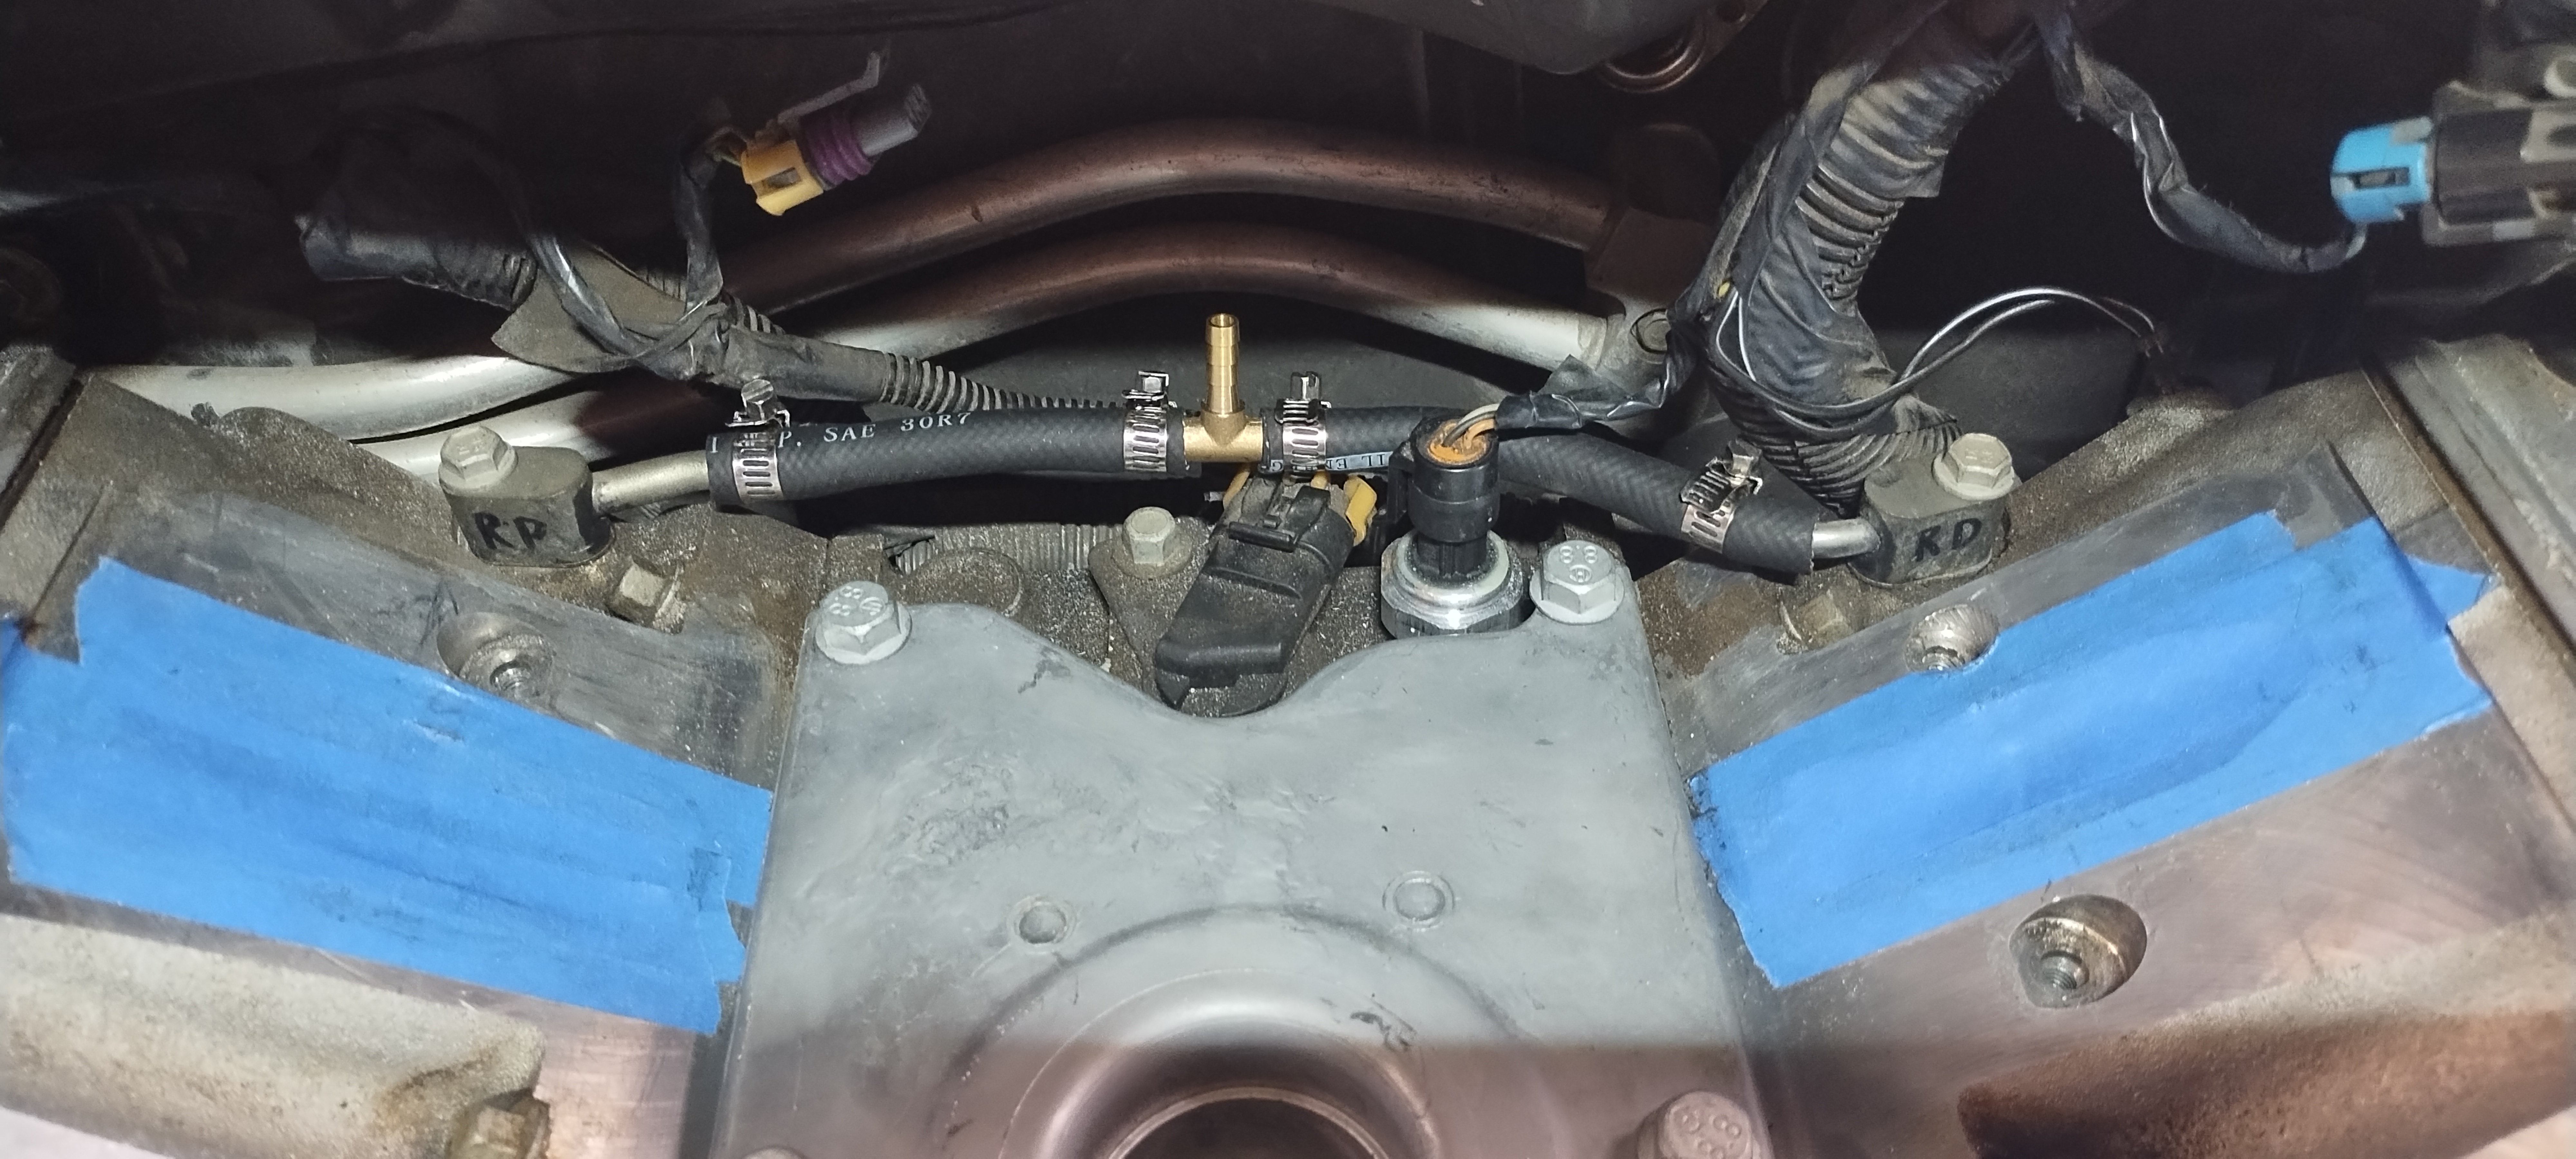
With the 4 port connections cut, you can slide the hose over the ends and confirm fitment. I've done the same above, but with standard hose clamps already in place. You don't need to do this with the hose clamps at this point however, and I'd have saved some time NOT doing this. Please note that as part of making this all live harmoniously, you may need to make slight bends to the tubing from the crossover ports using a tubing bender.
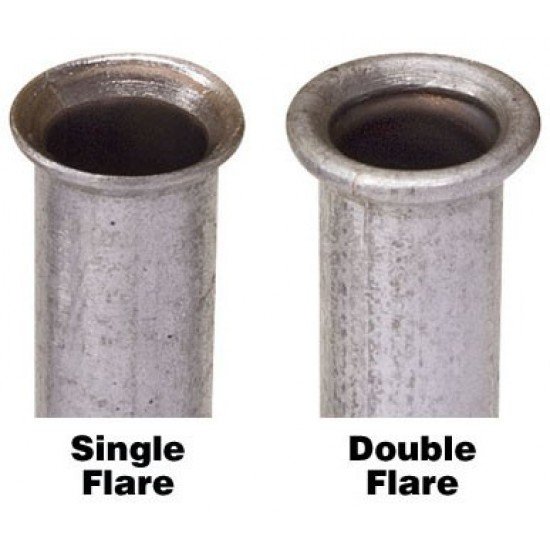
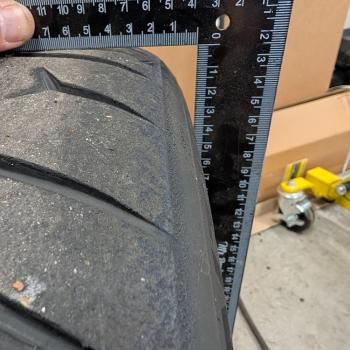
Step 4 - Double Flair Pipe Ends
With the pipes cut, bent and test fitted, remove the hose from them. You will now want to double flare the tubing ends to help give the hose something to hold onto. You'll want the pipe to look like the double flared example above.
We've got a video attached below, but the jist of it is be sure to secure your pipe flaring body with a bench vise. This will ensure you can appropriately flare the unit.
Step 4 - Test Fit all connections
With the steam ports all in and the crossover connections working, you'll want to plumb everything together. Be aware that you will want to leave extra length in the long tube running fore to aft, and for the tubing running from the combined crossover tubing forward to the radiator.
It is worth noting here that some connections are 5/16", some are 1/4". It'll be okay, the 1/4" tubing will be able to fit over the 5/16", though you may need to add heat or use alcohol or equivelant to help slide the hose onto the fitting.
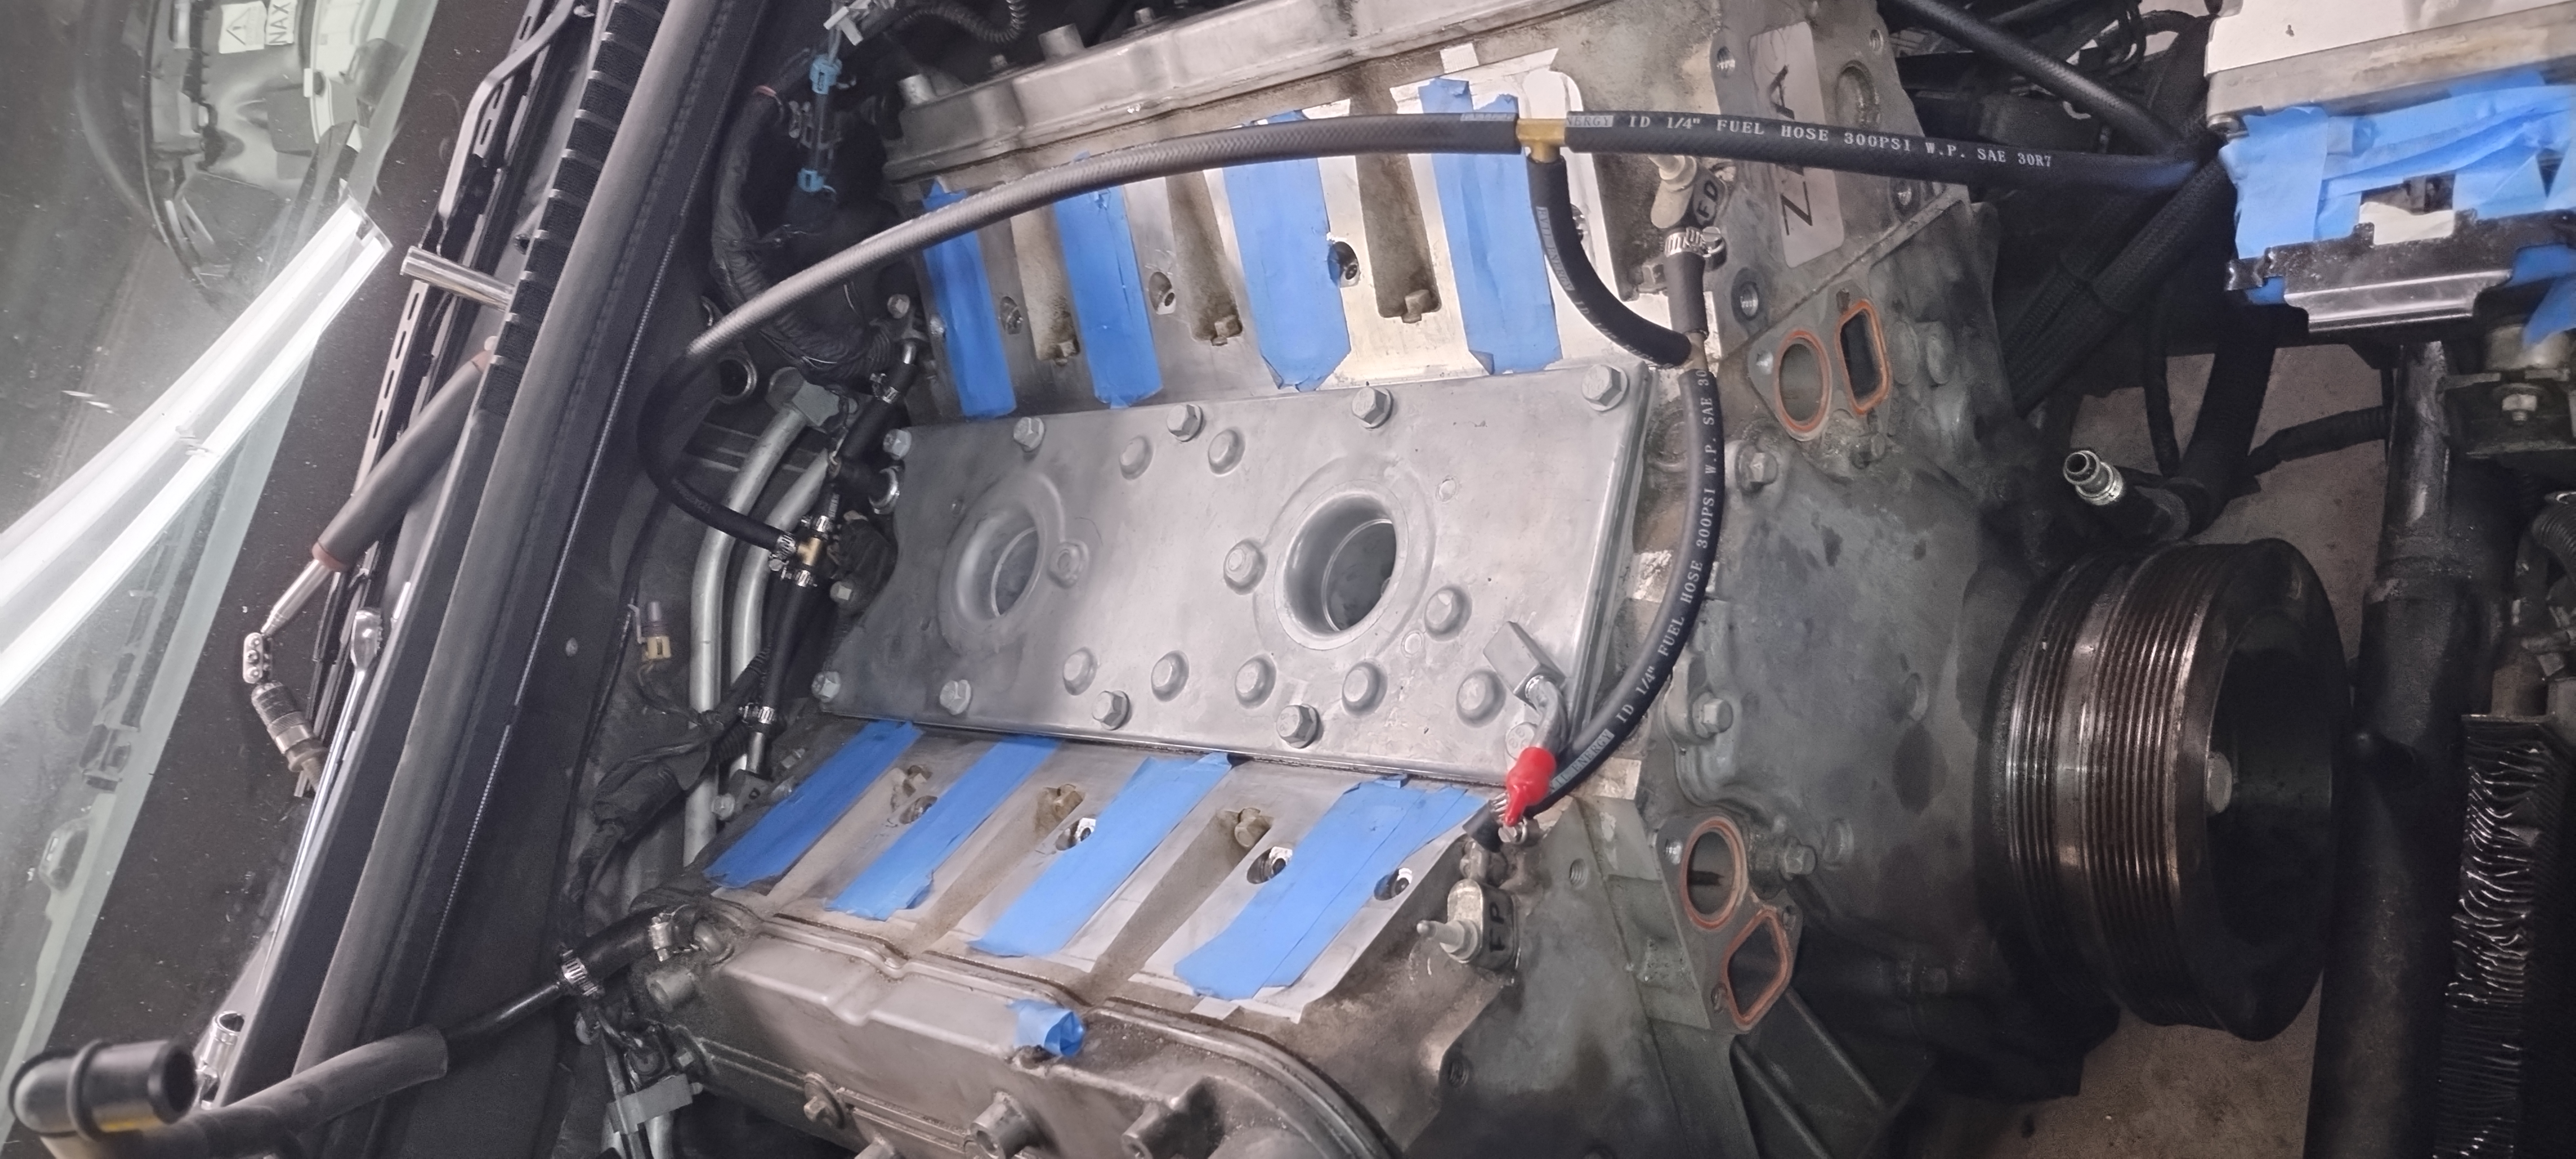
Step 6+7 - Secure, reinstall intake manifold
With all of the hose connections in place, ensure all of the hose clamps are secure, and then reinstall the intake manifold. You may need to make adjustments to the length of the hose between the rear and front crossover tubing, so hopefully you left a little extra length. Trim to the appropriate length, and secure.
Looking for some easy style points? Use cable clamps underneath the intake manifold bolts to hold the hose down in place as it lays over the intake manifold. It'll keep the hose from bouncing around as well.
It is also worth noting that at this point we recommended the spring style hose clamps versus the screw style. The spring style will apply constant pressure, especially as the hoses and fixtures heat and cool. The screw style however will not. The pictures do in fact have the screw style, but whenever we get the chance, we'll be redoing this with the spring style!

Step 8 - Confirm all connections are working and without Issue
With all connections in place, the best way to test the car is to get up to the temperature at which your thermostat opens and hold sustained high RPM's for a few solid minutes to ensure no leaks develop. If you used screw style connectors, be sure to snug them down again after they've had a heat cycle to help ensure.
With all of that complete, you'll now have a working 4 port crossover setup for well under the cost of the current offerings on the market!