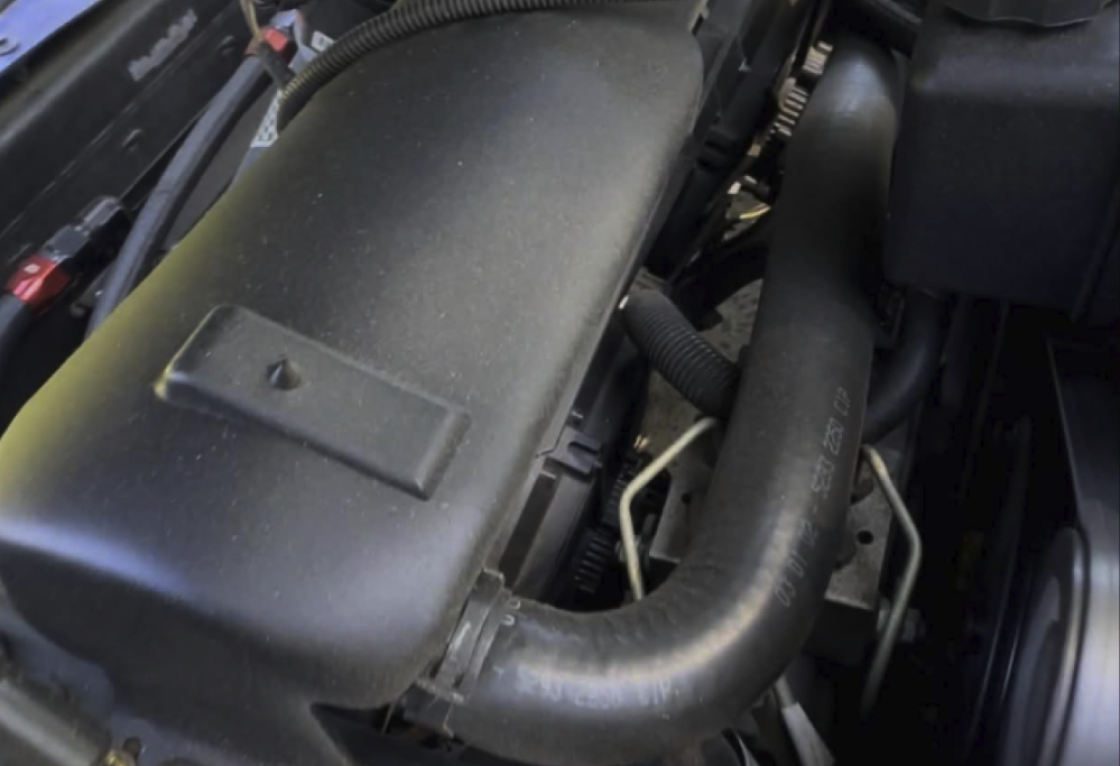
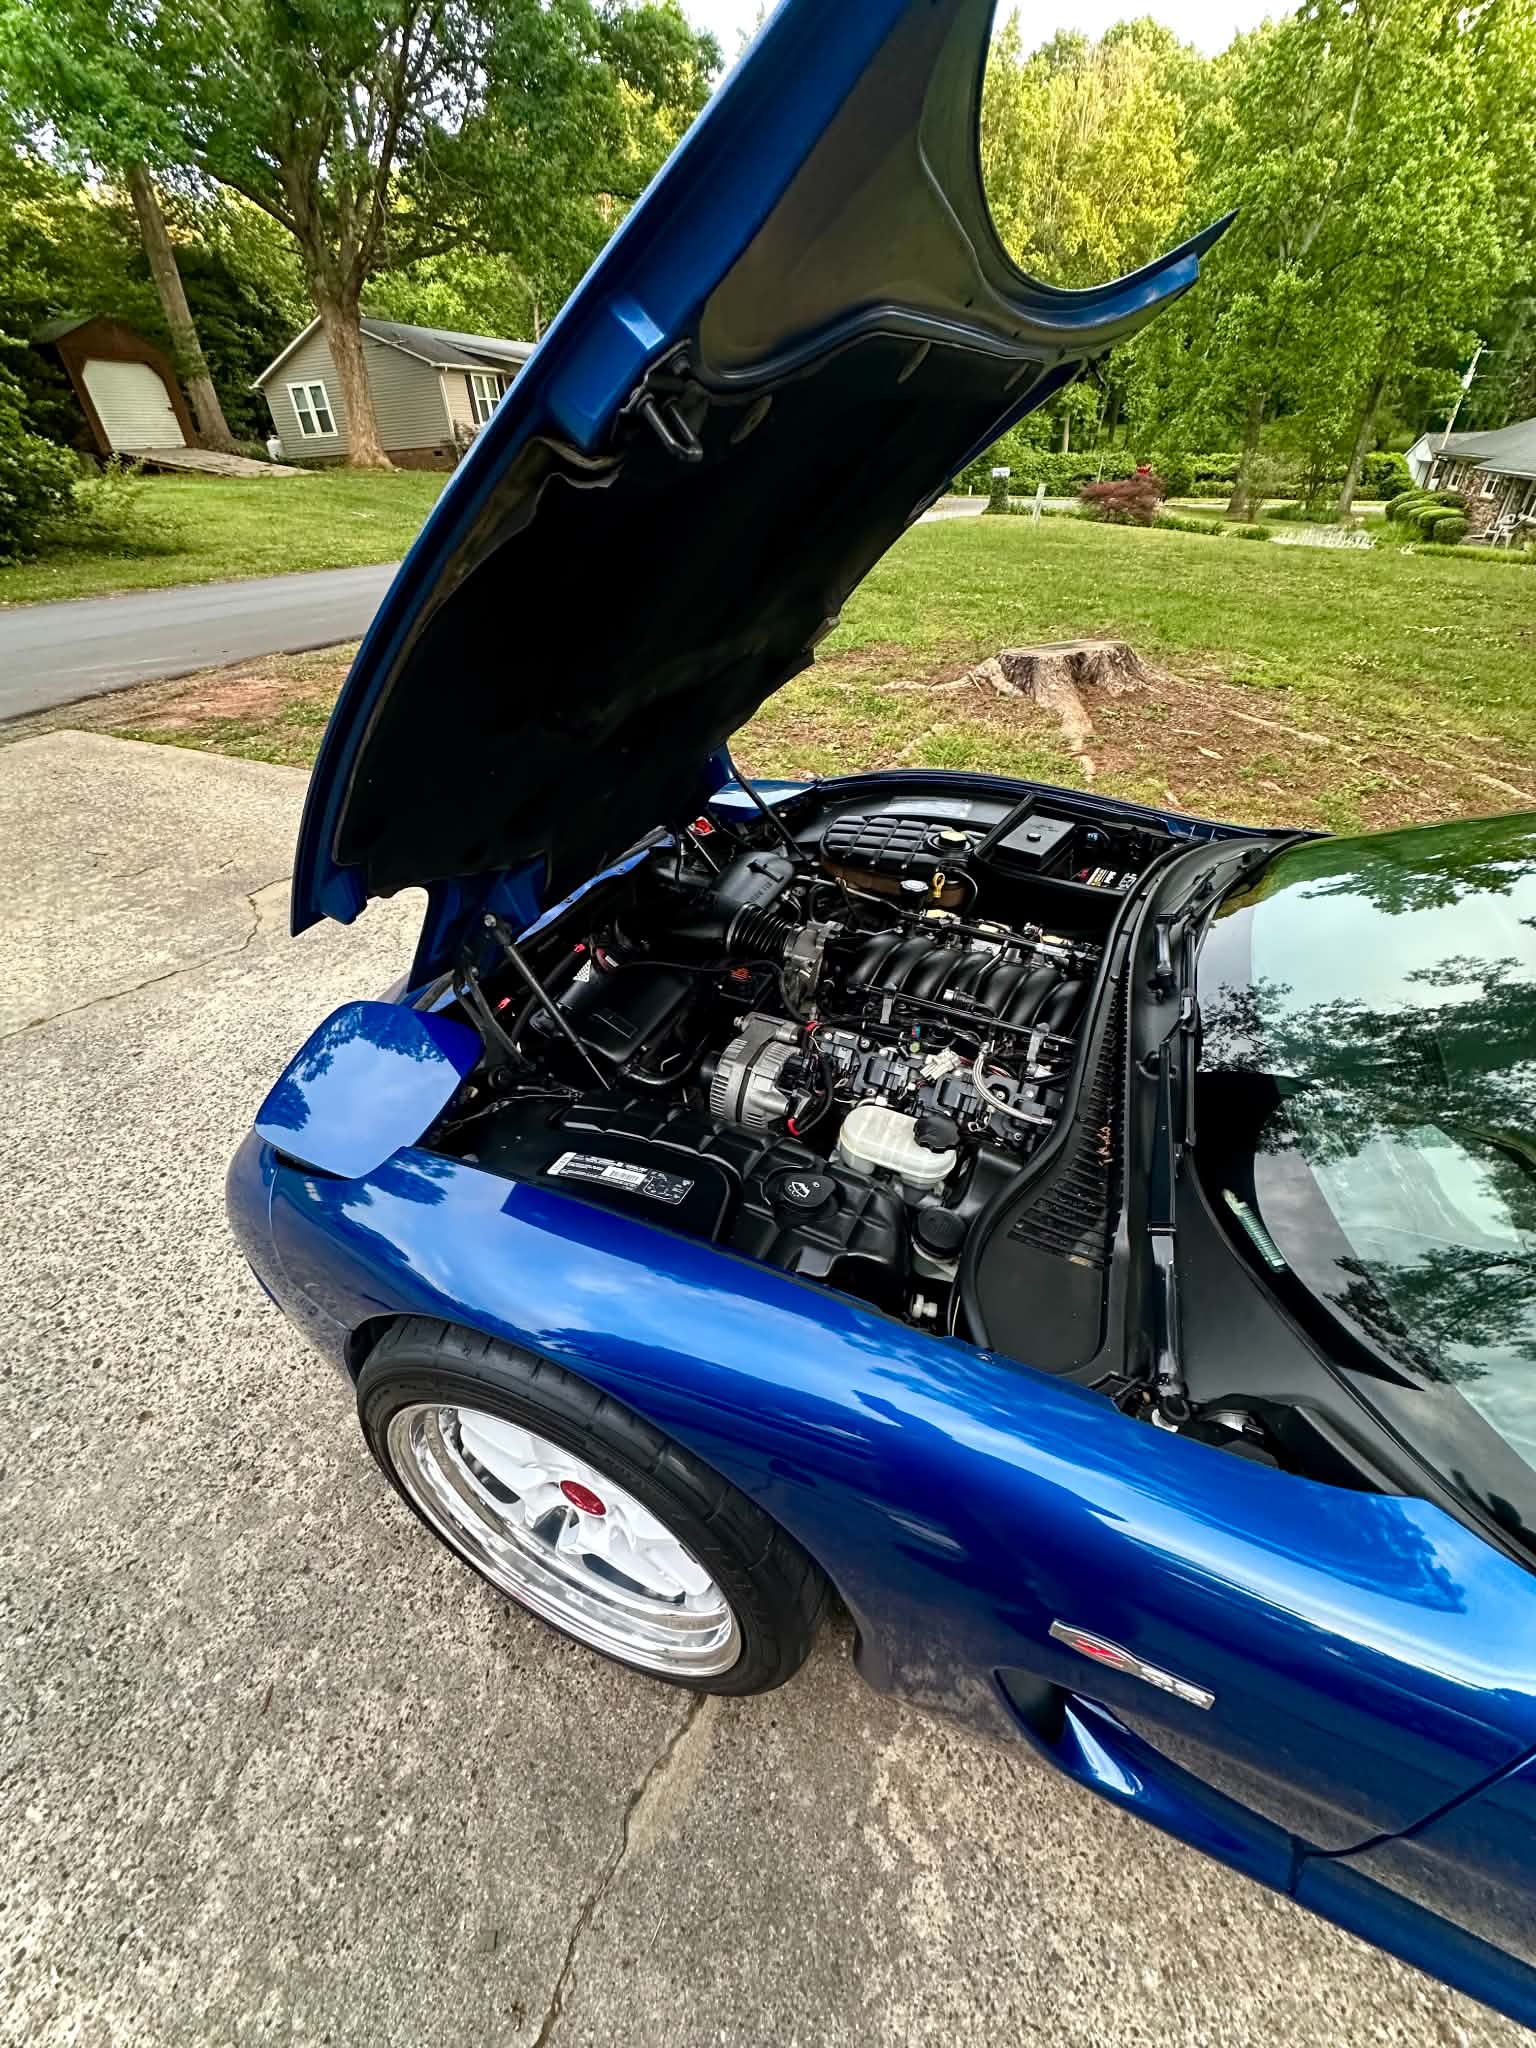
Keeping any performance car cool is a pretty common topic. We've talked about it a bunch in our articles ranging from decisions the GM Engineers made to common ways to improve cooling on the C5 Corvette. One resourceful author came up with a way to swap out the OEM fans for improved performance fans that move notably more CFM, the Pro-Form 12" Cooling fan. Here's what they did to install it on their ride, and how it worked out for them.
Step by Step Guide:
Step 1: Remove the factory fan shroud from the car
This is a well documented process and generally not that complex of a task. We highly recommend you follow this video right up until the hoses are removed, at which point you should be able to finagle the radiator shroud out without removing the hoses. If for some reason you are still struggling at this point, no worries it happens! You just drain and disconnect the radiator hoses that are interfering and you should be well on your way!
Step 2: Remove the old Fans from the Factory Shroud
Next you will lay the shroud on the ground with the fans facing up.. You will need to cut out the fans per the lines on the image above. Cut along the 90 degree edges where the OEM fines meet the flat surface of the fan shroud. Use a saw, cutting wheel, grinder, whatever tool you prefer. (Editor Note: A Dremel works wonders at this task)
Once you’ve cut away the fans, you'll then need to grind the excess material off until flush with the base of the shroud as shown in the image above.
Step 3: Attach The New Fans To the Shroud
Next you will take the Pro-Form fans and set them on the shroud aligned with the openings. Rotate the fans until the flats on the side of the fans meet each other in the middle with the wiring harness pointing down to the bottom of the shroud. For reference, look at the above picture to see what orientation works.
Set the fans ass close as you can to flush on all sides and mark the bolt holes with a paint pen/sharpie . Then you will remove the fans and drill the holes with a 7/32 drill bit. Re-test fit again to ensure holes are still lined up, adjust holes as nescessary.
This is the hardware that is needed to mount the fans to the shroud:
- Qty: 8 (1/4 x 3/4 USS GR 8 bolts)
- Qty: 16 (1/4 flat washers)
- Qty: 8 (1/4 lock nuts)
Step 3: Wire up the New Fans
Now that you've mounted the fans to the shroud you can start wiring the connectors. You can get these connectors from Amazon.
For the Fan wiring harness side:
There are 3 wires per fan that you will see: Red, Green, Black. Red & Green (Power & Signal) wire go together and connect to the red wire on the female 2-pin connector. Then the black wire will go to the black on the female 2-pin connector
For the car wiring harness side:
You will need to cut the factory connector off. Then wire in the new male connector into the car harness. How youre wire the male connector is different for each side, and explaind below:
Left Fan (Driver Side) Connector
- Pin A: Gray (Fan Motor Return / Ground)
- Pin B: Light Blue (Fan Motor Feed / Power)
Right Fan (Passenger Side) Connector
- Pin A: Black (Ground)
- Pin B: White (Fan Motor Feed / Power)
- Once you’ve done that you can re-install the fan shroud and test and ensure it works
Troubleshooting Tips:
If you have any issues go through this step by step:
- Check power at the fan side connector
- Back probe it and check for power on the fan female connector side with a multimeter with the car up to the temp that your fans turn on and with the engine running.
- This is best done by jacking the front of the car up and doing it underneath so you won’t be near the serpentine belt.
- If you have power on the fan connector then check the green wire to ensure a good crimp connection. If the green wire doesn’t have a good connection the fan will not turn on because that is the signal wire.
- If the green wire is not the issue then check and ensure you have ground.
- If you are running into an issue with not having ground you can trace the harness and ensure there’s no breaks or frays in the wiring. C5 Corvettes are old, it happens!
- If there are no breaks or frays and you still do not have ground, you can go the easy route and cut the black wires from fans and make your own chassis ground, guaranteeing you've got ground.
Congrats, You've Now Got Improved Cooling Fans on Your C5 Corvette!

The new fans should help keep your car exceptionally cool. When combined with a clean radiator, and some tuning adjustments you should be able to easily keep your car at whatever temperature is desired. For example, the author set their fans to come on: at 170 degrees for fan 1, and 175 degrees for fan 2 (AC on fan). The author pictured above clearly flogs their car hard, and reported on a 77 degree sunny day that they were seeing temperatures of 176-178 with the air conditioning off, and 190-194 degree oil temperatures. With the A/C on for a contious period of time, the author saw peak temperatures of 85-193 coolant temp, 197-202 oil temp. That's a cool running C5 Corvette!
Thanks to Josh Johnson for the Article. For more from him and his C5 Corvette, go check out his instagram!